To add a scrolling website video to Canva, record the site scrolling (on a Mac, press Shift-Command-5 and choose Record Selected Portion), upload the clip to Canva, add a laptop or phone frame from Elements > Frames, and drag the clip onto the frame until it snaps into place. It looks far better when the clip scrolls evenly, has the same shape as the frame's screen so Canva does not crop it, and shows the site's real mobile layout in phone frames. Canva accepts MP4, MOV and WEBM uploads up to 1 GB, but it downscales uploaded 4K video to 1080p and its help pages suggest a GIF workaround for transparent video, so export your clip on a solid background. GlidePage, a Mac app for Apple Silicon, records that smooth source clip, either framed on a background at 16:9, 9:16, 1:1 or 4:5, or unframed to drop into Canva's own frames.
On this page
Canva is where a lot of social posts, launch graphics and pitch slides get made, so it is a natural place to build a scrolling website mockup: a laptop or phone on a clean background, with the site gliding past on its screen. The usual tutorials make it look quick. Record your screen, upload the clip, drop it into a frame.
The result is often less convincing than the tutorial: a scroll that jerks and speeds up, a page cut off at the edges, or a desktop layout squeezed into a phone. This guide covers the usual method step by step, why it goes wrong, what Canva's own help pages say about formats, sizes and transparency, and how to make a source clip that fits the frame properly.
The usual method, step by step#
This is the approach most tutorials follow. It needs only a Mac and a Canva account.
1. Record the site on your Mac
Open the site in your browser and scroll through it once so images and fonts load, then go back to the top. Press Shift-Command-5 to open the Screenshot toolbar, choose Record Selected Portion, and drag the borders around the page area, leaving out the tabs and address bar. Click Record, then scroll down the page with one slow, steady trackpad swipe.
To stop, click the stop button in the menu bar or press Command-Control-Esc. Your Mac saves a .mov file named "Screen Recording" followed by the date and time.
2. Upload the clip to Canva
Open or create a design in Canva. In the editor side panel, select Uploads and upload the recording. Canva accepts MOV files, so the recording can go up as it is.
3. Add a laptop or phone frame
In the editor side panel, select Elements, then under Browse categories select Frames. Type what you want, such as "laptop" or "phone", into the search field, press Enter and choose a frame from the results. Canva's frames work as placeholders: whatever you drop in is cropped to the frame's shape.
4. Drop the clip into the frame
Drag the video from your uploads over the frame until it snaps into place. To adjust it, double-click the video: drag the white corner handles to resize it, drag the clip itself to reposition it inside the frame, then select Done.
5. Download the video
Select Share, then Download, choose MP4 Video as the file type and pick the quality. On Canva Free the download stays at the default 1080p; changing the quality shows an upgrade prompt.
That is the whole method, and for a quick internal post it is fine. For anything public, a few problems tend to show up.
Why the result often looks off#
The scroll is choppy
A live screen recording depends on your hand and on your Mac keeping up. Trackpad scrolls speed up and slow down, and heavy pages make the recording drop frames, which shows as stutter. A frame in Canva does not fix that; it frames the stutter. Why screen recordings look choppy explains the causes in detail.
The page gets cropped
Your recording has whatever shape you dragged in the Screenshot toolbar. The frame's screen has its own shape, and Canva crops the clip to fill it. If the two do not match, you lose the edges of the page, often the navigation or the right-hand side of the layout, or you shrink the clip and leave gaps. A laptop frame's screen is rarely the same shape as your browser window, and a phone screen is far taller and narrower than any desktop recording.
A desktop page squeezed into a phone
Record a desktop browser and drop it into a phone frame, and you get tiny text, a desktop menu and side-by-side columns inside a phone. Viewers spot it at once. A phone frame needs the site's mobile layout, which only appears at a phone-sized viewport.
Soft text
A screen recording is limited to your display's resolution, and cropping into part of it makes text softer still. Canva also downscales uploaded 4K video to 1080p and keeps that version even if you later export the design in 4K. Small type suffers most.
Extra things in the shot
A cursor resting on the page, a cookie banner over the hero, a notification sliding in, a scrollbar along the edge. Each is small, and together they make a mockup look homemade.
| Symptom | Likely cause | Fix |
|---|---|---|
| Stutter or uneven speed | Hand scroll, dropped frames | Record with a steady, frame-by-frame scroll |
| Edges of the page cut off | Clip shape differs from the frame's screen | Record at the screen's shape |
| Desktop layout in a phone | Recorded at desktop width | Record at a phone viewport |
| Blurry text | Display-resolution recording, cropping, 1080p storage | Record the viewport at full size, at least 1080p, and do not crop into it |
| Cursor or banner in the shot | Live recording of your screen | Move the pointer away, dismiss banners, or use a recorder that hides them |
What Canva accepts: formats, limits and transparency#
These details come from Canva's help pages, read on 30 September 2026:
| Topic | What Canva's help pages say |
|---|---|
| Video uploads | MOV, GIF, MP4, MPEG, MKV or WEBM, up to 1 GB per file |
| 4K uploads | Downscaled to 1080p and stored that way, even if you export the design in 4K |
| ProRes | ProRes 4444 is on the unsupported list; ProRes 422 is supported |
| Transparent video | Suggested workaround: upload a short version as a GIF |
| Image uploads (JPEG, PNG, HEIC/HEIF, WebP) | Under 50MB and no more than 250 million pixels |
| MP4 downloads | 480p, 720p, 1080p or 4K (4K on desktop only). Canva Free: up to 1920 × 1080. Pro, Teams, Education and Nonprofits: up to 3840 × 2160 |
| Custom design size | 40 to 8000 px per side, up to 8000 × 3125 px |
What that means in practice:
- A 1080p source clip is enough. A 4K upload is stored at 1080p anyway, so it mostly costs you upload time.
- Transparent video is not a dependable route. ProRes 4444, the usual transparent format for editing apps, is not supported. Canva lists WEBM as an upload format, but its pages do not say that transparency in a WEBM survives, and the suggested GIF workaround is poor for websites: GIF is limited to 256 colours, so photos and gradients band. Export the clip on a solid background instead, ideally the same colour as your Canva page so the edges disappear.
- Transparent PNG stills: test first. Canva describes PNG as a format that supports transparency when you download a design, and it accepts PNG uploads, but the pages do not say that an uploaded PNG keeps its transparent areas. If a see-through device still matters, try one before you build a set around it; otherwise use a still on the same solid colour as your design.
- Frame rate. Canva's troubleshooting page lists videos at 60 fps or higher among the things that can make a video download fail, and suggests 1080p where possible. A 60 fps clip looks smoothest, so start there, and keep a 30 fps version in case a long design will not download.
Make a better source clip#
Almost every problem above is fixed before the clip reaches Canva.
Keep the scroll steady
An even, eased scroll looks intentional; a hand scroll looks like someone browsing. If you record by hand, use one long, slow swipe and retake until it is clean. A recorder that scrolls the page itself, frame by frame, removes the problem entirely.
Match the frame's screen
Add the frame in Canva first and look at the shape of its screen. Then set your browser's viewport to the same shape before recording, using the responsive or device mode in its developer tools, and record just that area. A clip with the right shape drops into the frame with nothing cropped. Align the top of the page with the top of the screen so the header stays in view.
Use the real mobile layout in phone frames
Record the phone version at a phone-sized viewport, ideally with a phone user agent, so the site shows its actual mobile design. Mobile website mockup videos covers phone emulation on a Mac in detail.
Get the page ready
Accept or hide the cookie banner, move the pointer off the page, turn on a Focus mode so notifications stay away, and scroll through once so lazy images and reveal animations are already loaded.
Making the clip with GlidePage#
GlidePage is a Mac app that turns a link into a smooth scrolling video. It scrolls the live page itself and captures every frame one at a time, so the motion is perfectly even however heavy the site is. For a Canva mockup there are two ways to use it.
Option 1: skip Canva's frame
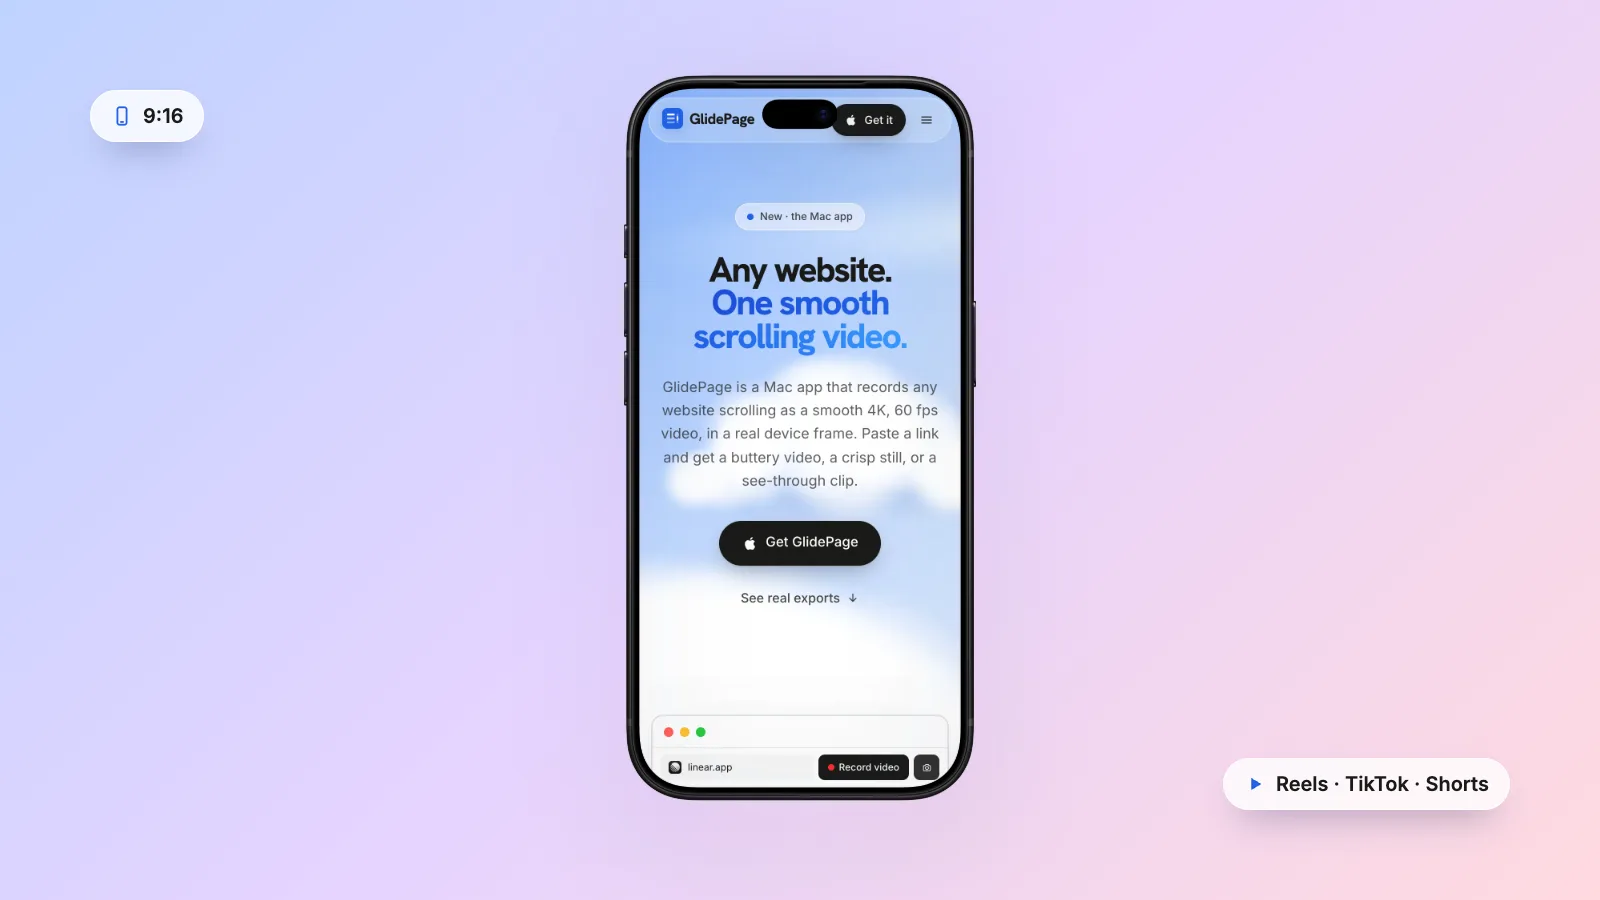
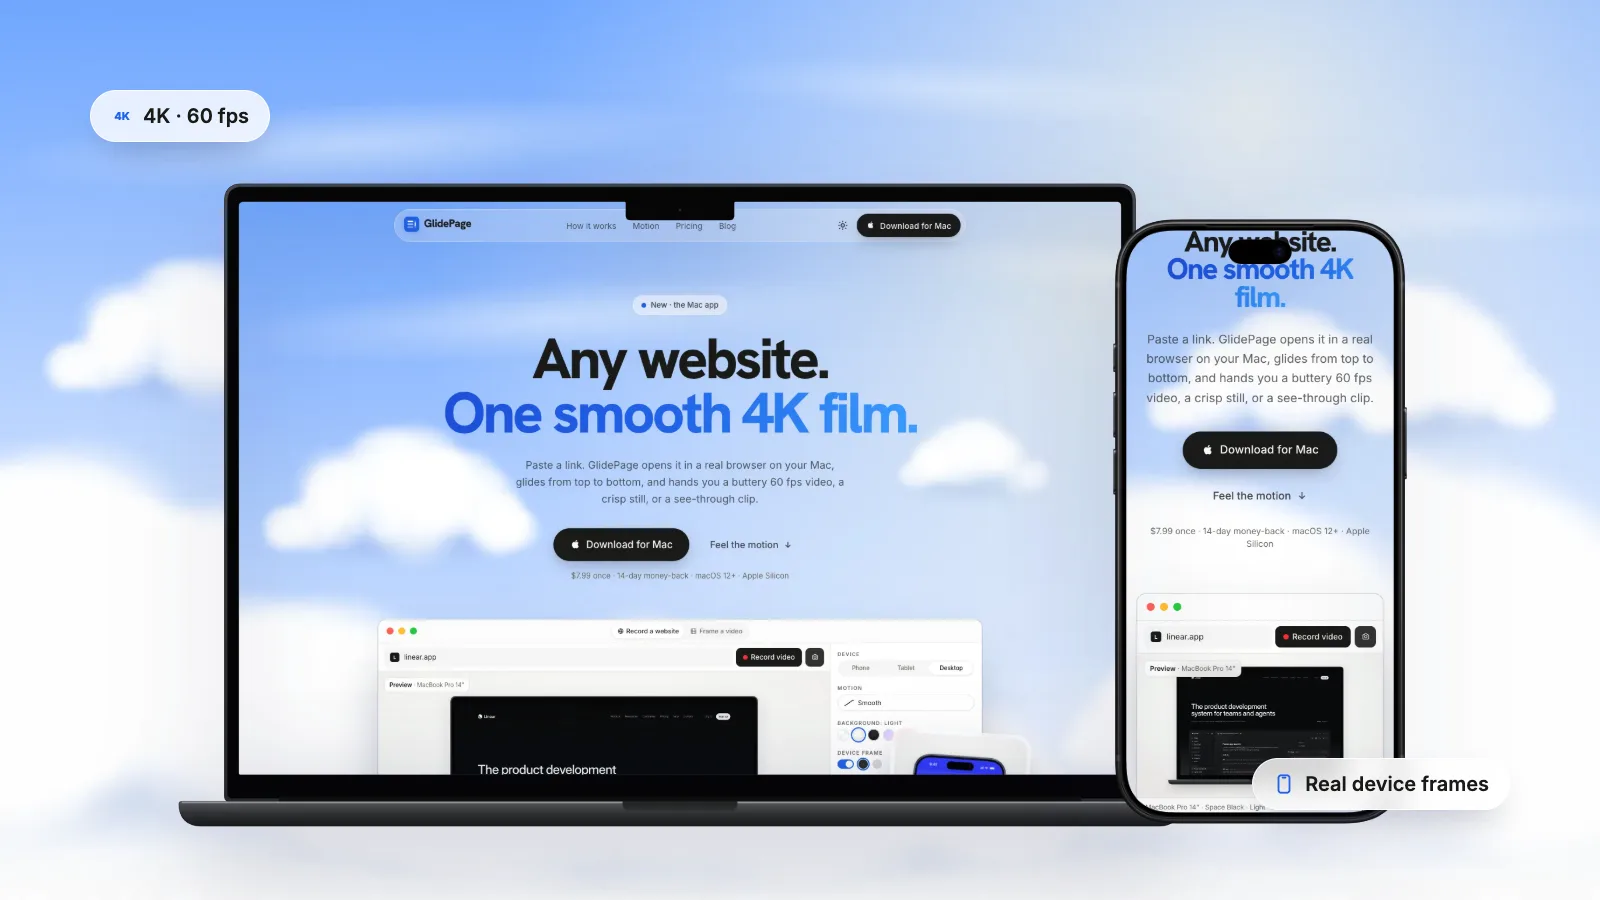
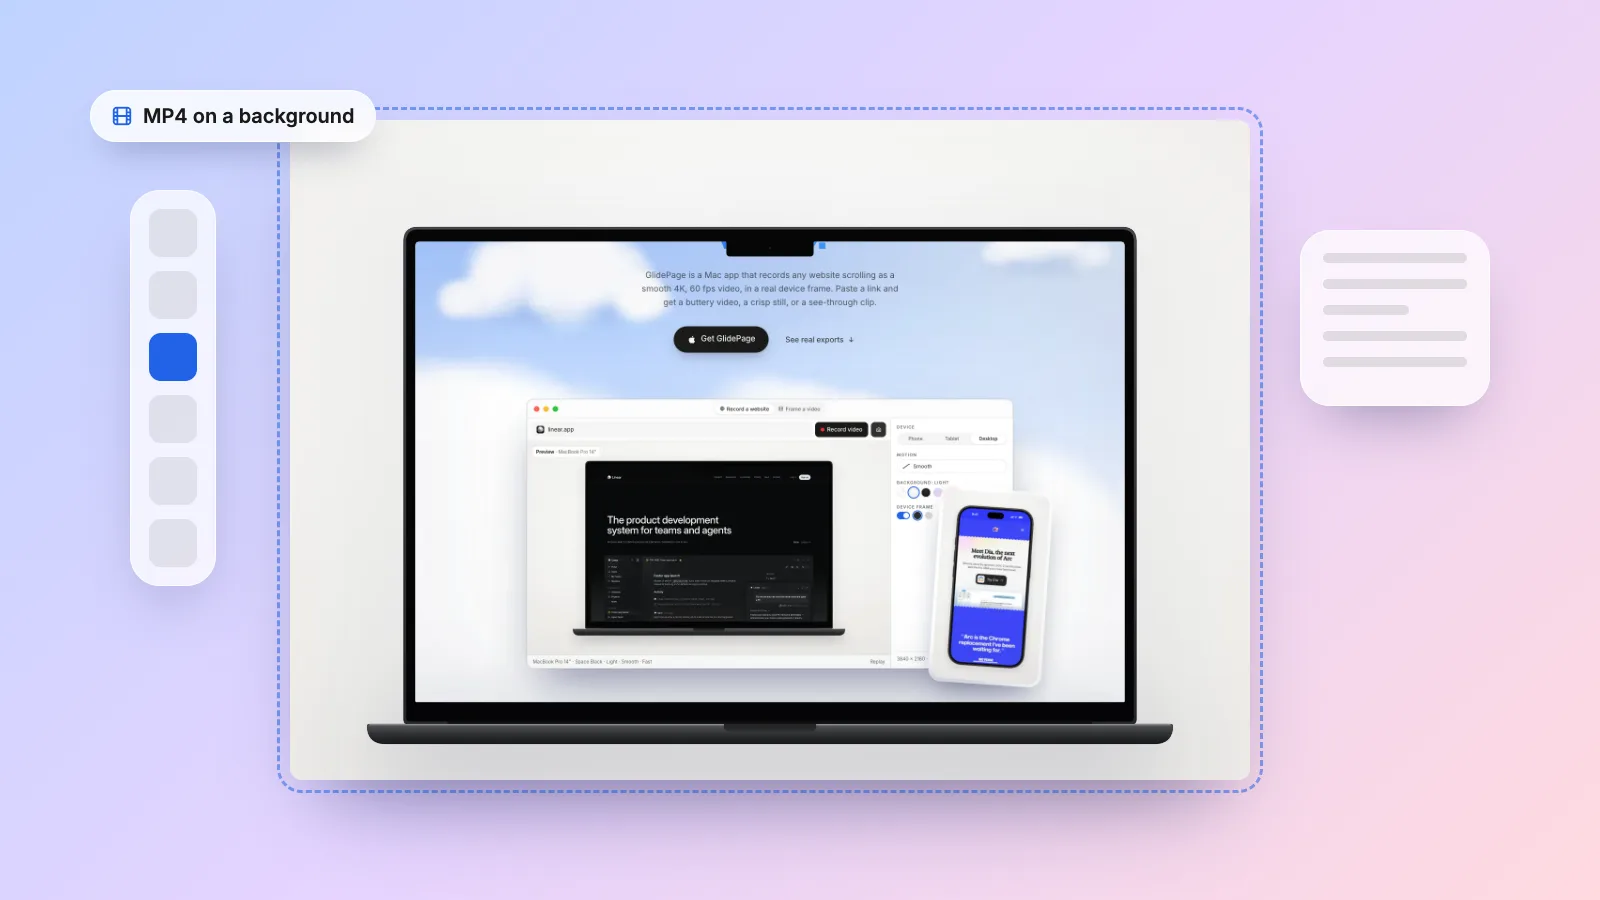
GlidePage records the site inside a real device frame, in the device's real colours, on a background: Light, Midnight, Aurora, Sunset, or any solid colour or gradient you choose. Set the aspect ratio to match your Canva design, 16:9, 9:16, 1:1 or 4:5, and the clip arrives finished: device, shadow and background included. In Canva it simply fills the page, and you add your text, logo and music on top.
Option 2: an unframed clip for Canva's frames
If you want Canva's own mockup style, turn the frame off. Choose a custom size with the same shape as the Canva frame's screen (anything from 320 to 3840 px per side), and the clip fits without cropping. For phone frames, pick one of the phone devices with the frame off: phone devices load the page with a real phone user agent and viewport, so you get the site's mobile layout.
Settings that suit Canva
- HD export. 1080p is what Canva keeps of a 4K upload anyway, and HD records noticeably faster.
- 60 or 30 fps. 60 for the smoothest motion; 30 if a long design struggles to download.
- Motion. Smooth eases in and out; Steady keeps a constant speed.
- Page theme. Record the site in light or dark mode, for sites that support both.
- Cookie banners are hidden by default, and anything the filter misses can be closed in Take control or removed with Hide element.
- Photo mode saves a matching 4K PNG still for a cover image or thumbnail.
GlidePage runs on Apple Silicon Macs with macOS 12 or later, and nothing is uploaded. It records a top-to-bottom scroll only, with no text, captions or music: that part is what Canva is good at. A page behind a login is fine: sign in with Take control first. If you already have a recording, such as a click-through of your app, its Frame a video mode places your own MP4, MOV or WebM file in a device frame on a background.
Export for Reels, TikTok and feed posts#
Start from the right size
On the Canva homepage, select Custom size, choose px as the unit, and enter the width and height before you start. Common choices:
| Format | Design size | Device that fills it best |
|---|---|---|
| Vertical video (Reels, TikTok, Shorts, Stories) | 1080 × 1920 (9:16) | Phone |
| Portrait feed post | 1080 × 1350 (4:5) | Phone, or laptop with room for a headline |
| Square feed post | 1080 × 1080 (1:1) | Laptop or phone |
| Landscape video and slides | 1920 × 1080 (16:9) | Laptop |
Make the device large. In a vertical video, a phone that fills most of the width keeps headlines readable; a small laptop floating in a tall frame turns the site into a thumbnail. Keep your own text away from the very top and bottom, where platform buttons and captions sit. Website videos for Reels and TikTok covers each platform's specs and safe zones.
Download at 1080p
Select Share, Download, MP4 Video, and keep the quality at 1080p. Because Canva stores uploaded 4K clips at 1080p, a 4K download does not add detail to the website footage itself. Ten to twenty seconds is plenty for a scroll: long enough to show the page, short enough to loop.
Quick checklist before you download#
- The clip scrolls evenly, with no cursor, banner or notification in the shot.
- The clip's shape matches the frame's screen, and the header is not cropped.
- Phone frames show the site's mobile layout.
- The source is MP4 or MOV at 1080p, well under 1 GB.
- No transparent video: the clip sits on a solid background that matches the design.
- The design size matches the destination (9:16, 4:5, 1:1 or 16:9).
- The download is MP4 at 1080p, 10 to 20 seconds long.
Canva is good at the parts around the website: text, branding, music and layout. The website footage itself is worth getting right before it goes in. For more on the recording side, how to make a scrolling video of a website compares every method, and scrolling website mockups covers choosing frames and backgrounds for any tool.
Sources
- Canva Help Center: Check file upload formats and requirements (checked September 2026)
- Canva Help Center: Use frames and crop images into a shape (checked September 2026)
- Canva Help Center: Downloading designs as video or GIF (checked September 2026)
- Canva Help Center: I can't download my design or video (checked September 2026)
- Canva Help Center: Design from scratch (custom dimensions) (checked September 2026)
- Apple Support: How to record the screen on Mac (checked September 2026)



Make your site move.
Any page, one smooth 4K video. Framed, on any background, or transparent.
Questions, answered
How do I make a scrolling website mockup in Canva?
Record the website scrolling, upload the clip to Canva, add a laptop or phone frame from Elements and then Frames, and drag the clip onto the frame until it snaps in. Double-click the clip to resize or reposition it inside the frame, then download the design as an MP4. For a clean result, record at the same shape as the frame's screen with a steady scroll.
Why is my screen recording cropped in a Canva frame?
Canva's frames crop whatever you put in them to fill the frame's shape. If your recording is wider or taller than the frame's screen, the extra part is cut off. Record at the same shape as the screen, or double-click the clip and reposition it so the important part stays visible.
Which video formats can I upload to Canva?
Canva's help pages list MOV, GIF, MP4, MPEG, MKV and WEBM, with a maximum file size of 1 GB. ProRes 4444 is not supported, though ProRes 422 is. Uploaded 4K video is downscaled to 1080p.
Can I use a transparent video in Canva?
Not reliably. Canva does not support ProRes 4444, and its help pages suggest uploading a short GIF as a workaround for transparent video, which looks poor for websites with photos and gradients. Export the clip on a solid background that matches your design instead.
Why does my website video look blurry in Canva?
Usually because the recording was small to begin with, was cropped or zoomed inside the frame, or shows a desktop page shrunk into a phone. Canva also downscales uploaded 4K video to 1080p. Record the viewport at full size, at least 1080p, at the frame's shape, and avoid zooming into the clip.
What size should a Canva design be for Instagram Reels?
Use a 9:16 design, such as 1080 by 1920 pixels, created with Custom size on the Canva homepage. Put the site in a phone frame that fills most of the width so the text stays readable, and download it as an MP4 at 1080p.