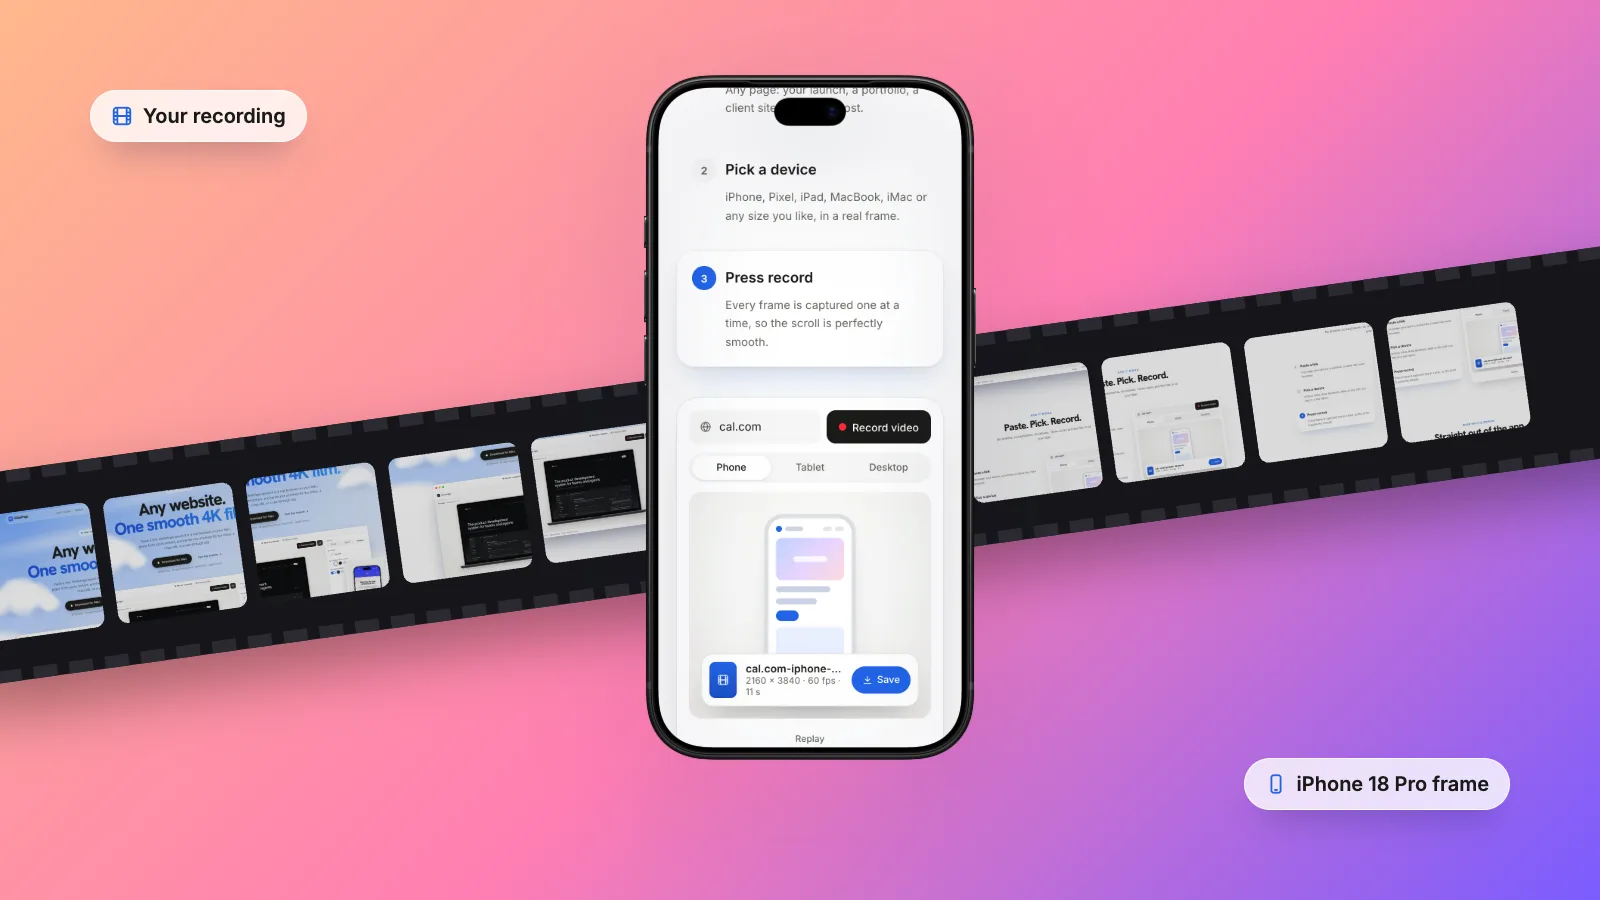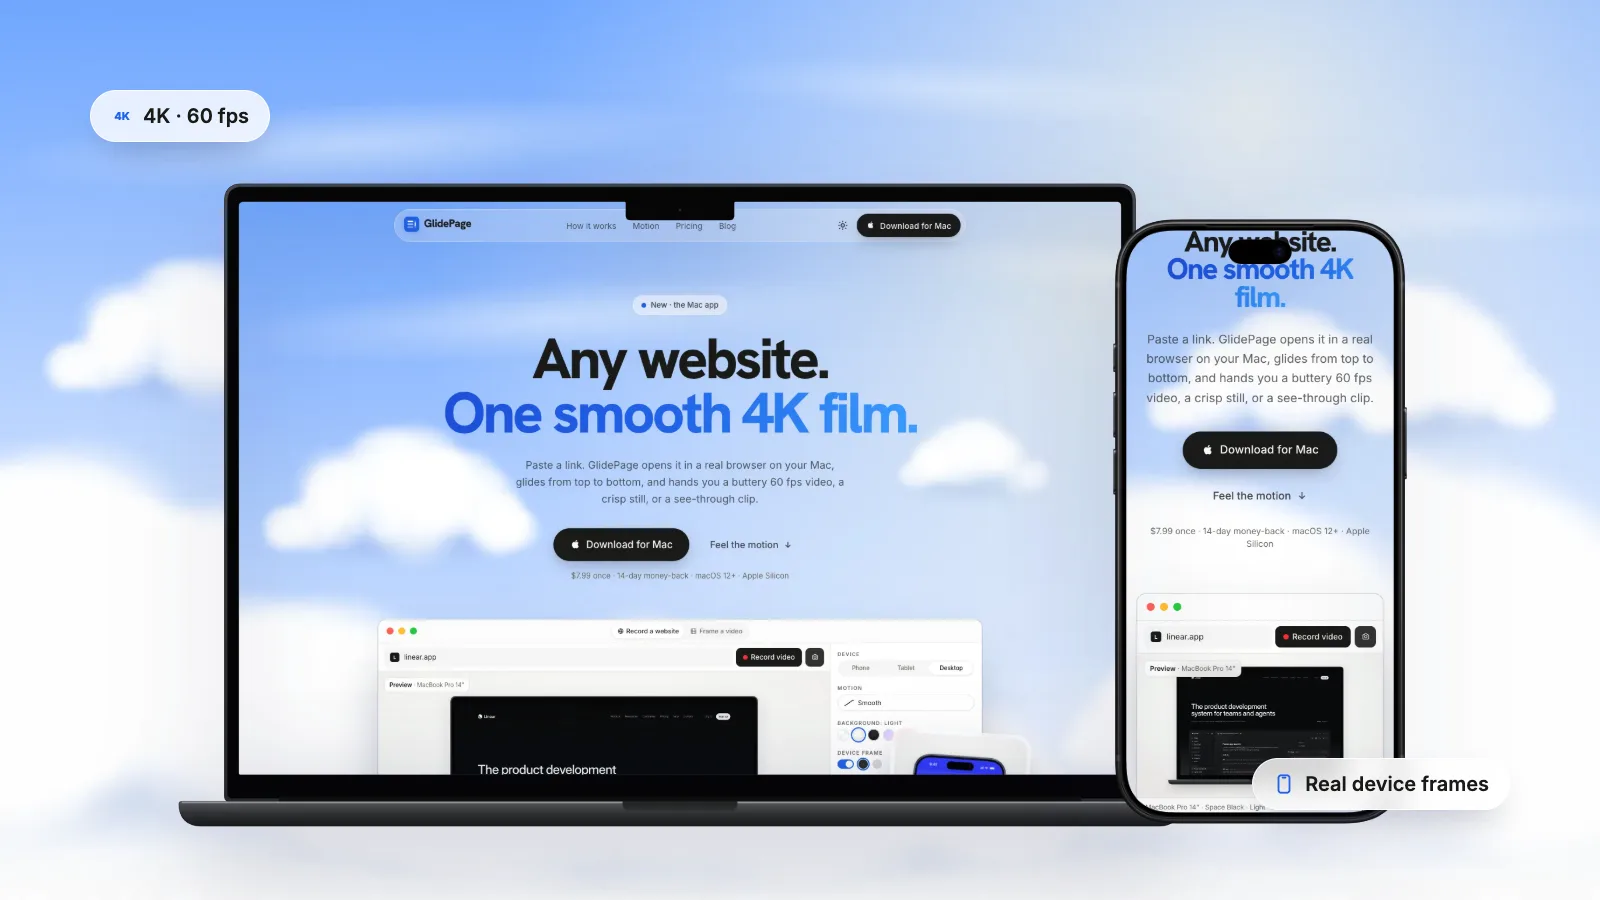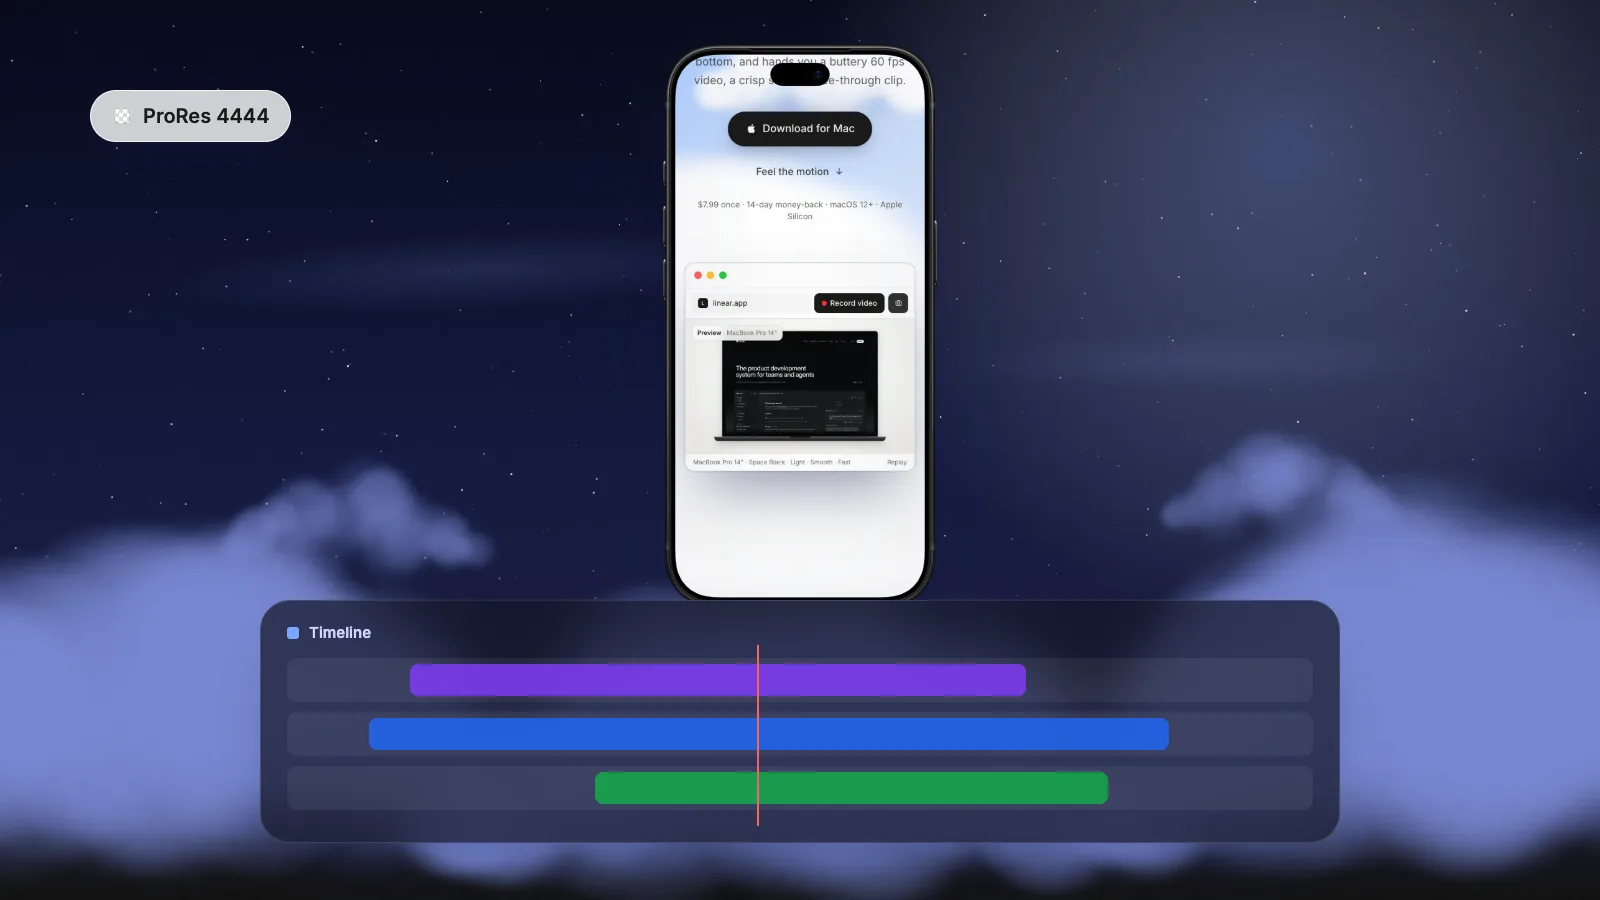
To add an iPhone mockup in Final Cut Pro, import a transparent ProRes 4444 MOV of the device, select it in the browser and press Q to connect it above your footage; its alpha channel lets the footage show around the phone. In Premiere Pro, place the clip on a track above your background, and if it shows black, open Modify → Interpret Footage and make sure the alpha channel is not being ignored. In DaVinci Resolve, place it on a higher track and check the clip's alpha setting in Clip Attributes. Templates work too, but GlidePage, a Mac app for Apple Silicon, records a website straight into a transparent 4K device clip that is ready to drop in.
On this page
You have a video (a product walkthrough, a talking head, a launch reel) and you want a phone or laptop in it, showing your website. The usual advice is to buy a device template, open it, find the placeholder, and fit your screen recording into it by hand. That works, but there is a simpler way that every editor already supports: a transparent device clip on the track above your footage.
This guide shows how to bring one into Final Cut Pro, Premiere Pro and DaVinci Resolve, how to fix the black background that sometimes appears, and how to animate it so it looks designed rather than pasted on.
Two ways to get a device mockup into your edit#
| Device template or plugin | Transparent device clip | |
|---|---|---|
| What you get | A device shape with a drop zone for your recording | A finished device, with the screen already playing, on a transparent background |
| Setup | Fit your recording to the screen, match corners and aspect ratio | Drop it on a track above your footage |
| Sharpness | Depends on your recording and how much it is scaled | As sharp as the clip, 4K in the case below |
| Reuse | Tied to one editor | Works in any editor that reads ProRes 4444 with alpha |
| Cost | Templates and plugins are often paid | Depends how you make the clip |
Templates make sense when you want a specific 3D camera move they already animate. For a clean device showing a website, the transparent clip is faster and usually sharper.
What you need: a transparent device clip#
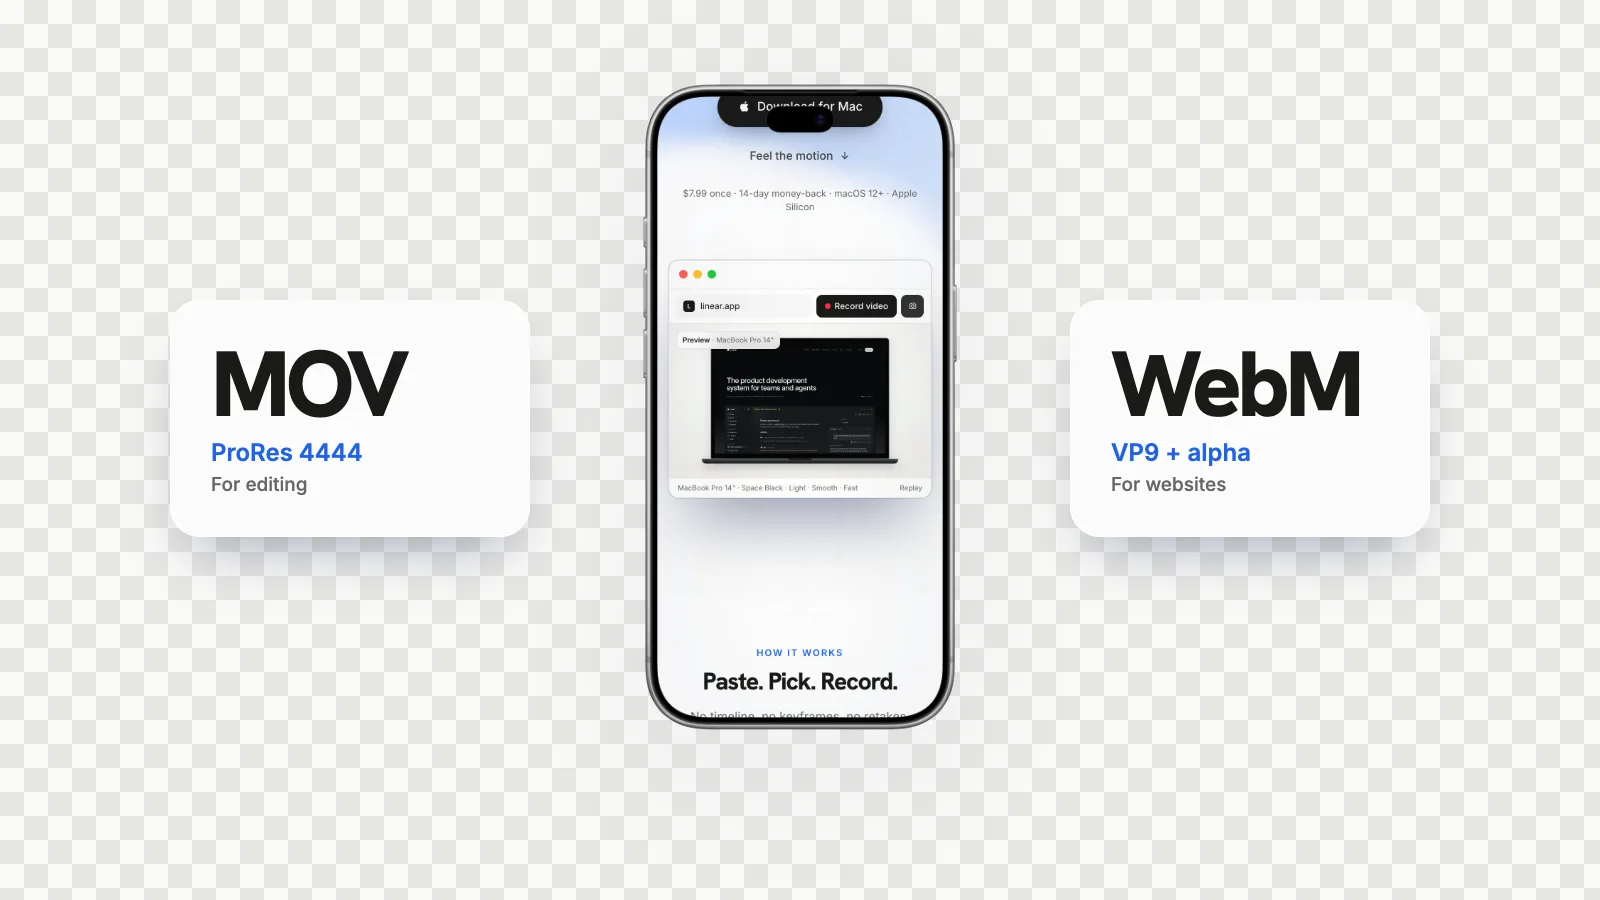
The file that works everywhere is a ProRes 4444 MOV with an alpha channel. ProRes 4444 and 4444 XQ are the only ProRes flavours that carry alpha, and all three editors below read them. A few things to avoid:
- WebM files. A WebM with alpha is a web format. Final Cut Pro's list of supported media formats does not include WebM, so editors should use the MOV. ProRes 4444 vs WebM with alpha explains the difference.
- MP4 files. An H.264 MP4 has no alpha channel, so the "transparent" areas arrive as solid black.
- ProRes 422. Same problem: no alpha.
If you are making the clip yourself in a motion graphics app, how to make a transparent background video on Mac has the export steps. If the device is showing a website, there is a shortcut further down.
Final Cut Pro#
1. Import the clip
Import the MOV into your library as usual. It appears in the browser like any other clip.
2. Connect it above your footage
Position the playhead where the device should appear. Select the device clip in the browser and choose Edit → Connect to Primary Storyline (or press Q). The clip sits above your main footage, and its alpha channel controls where the footage shows through.
3. Check the transparency
Play it back. You should see your footage around the device. If you want to see exactly where the transparent areas are, change the viewer background in Final Cut Pro → Settings → Playback → Player Background; the colour you choose shows through any transparent or partly transparent area when there is nothing underneath.
4. Position, scale and animate
Select the device clip, then choose Transform from the pop-up menu in the lower-left corner of the viewer (or press Shift-T). Drag the corner handles to scale and the centre to move it.
To animate it, put the playhead at the start, set the starting position and size, and click Add Keyframe at the top of the viewer. Move the playhead later, change the position or scale, and Final Cut Pro adds the next keyframe and animates between them. Click Done when you are finished.
A vertical 4K phone clip is taller than a 16:9 timeline, so expect to scale it down. The extra resolution is useful later: you can push in on the screen without it going soft.
5. Add a shadow
A device floating over footage with no shadow can look cut out. Apply the Drop Shadow effect from the Effects browser and keep it soft and subtle.
Premiere Pro#
1. Import and place the clip
Import the MOV and drag it onto a track above your footage, for example V2 over footage on V1. Premiere composites from the lowest track up, and clips on upper tracks cover lower ones except where their alpha channel says they are transparent.
2. If the background shows black
There are two common reasons:
- Nothing is underneath. Premiere shows areas where all tracks are empty or transparent as black. Put your footage or a colour matte on the track below and check again.
- The alpha is being ignored. In the Project panel, right-click (or Control-click) the clip and choose Modify → Interpret Footage. In the alpha channel options, make sure Ignore Alpha Channel is not selected, and that Invert Alpha Channel is off. Click OK.
To see exactly what Premiere thinks is transparent, switch the Program Monitor to display the Alpha channel. White is solid, black is transparent.
3. Position, scale and animate
Every clip has a Motion effect built in. Select the device clip, open the Effect Controls panel and expand Motion to find Position and Scale.
To animate, move the playhead to the start, click the Toggle Animation stopwatch next to Position (and Scale), then move the playhead and change the values. Premiere adds keyframes as you go, and you can add more with Add/Remove Keyframe. You can also double-click the clip in the Program Monitor and drag it, or drag a corner handle to scale it.
4. Add a shadow
Apply the Drop Shadow effect from the Effects panel and adjust its distance and softness in Effect Controls.
DaVinci Resolve#
The same idea works in Resolve:
- Import the MOV into the Media Pool and place it on a video track above your footage (V2 over V1).
- If the transparent areas show as black, right-click the clip in the Media Pool, choose Clip Attributes, and on the Video tab check the alpha setting (Resolve calls it Alpha Mode). Make sure it is not set to None, and choose straight or premultiplied to match the file.
- Use the transform controls in the Inspector (zoom and position) to size and place the device, and keyframe them to animate it.
Resolve's menus shift a little between versions, so if a label differs, look for the alpha setting in the clip's attributes first. That is where most black-background problems are solved.
Straight or premultiplied?#
Alpha channels come in two kinds. Straight keeps the full colour and stores transparency only in the alpha channel. Premultiplied bakes the transparency into the colour against a background colour, usually black, so soft edges are already darkened.
Editors usually detect the right one. When they get it wrong, you see it on soft edges and shadows: a thin dark halo means premultiplied alpha is being treated as straight. Adobe's own summary is that straight keeps more accurate colour, while premultiplied is compatible with more apps. Either is fine, as long as the editor interprets it correctly.
Getting the device clip from GlidePage#
If the device is showing a website, you can skip making the clip by hand. GlidePage, a Mac app, records any web page as a smooth scrolling video inside a real device frame and exports it with a transparent background.
- Paste the link. Any public page, or a local one such as a dev server on localhost.
- Pick a device. Current iPhones (including iPhone 18 Pro and iPhone Air), Pixel and Galaxy phones, iPads, MacBook Air and Pro, iMac, and more, in their real colours with the status bar and safe areas in place. Phone sizes load the site's real mobile layout.
- Choose the motion. Six curves, from Smooth to Page by page, and a speed slider.
- Turn the frame on and set the background to None. That makes the export transparent.
- Export ProRes 4444 MOV. You get a 4K, 60 fps clip with alpha, captured frame by frame so the scroll is perfectly smooth, ready for Final Cut Pro, Premiere Pro, DaVinci Resolve or After Effects.
It runs on your Mac (Apple Silicon, macOS 12 or later) and nothing is uploaded. Plan for disk space: transparent MOVs are roughly 40 MB per second at 4K 60 fps. If your editor prefers images, you can export the frames as a PNG sequence in a ZIP instead.
Exporting the finished edit#
Once the device sits over your footage, the finished video is an ordinary opaque video. Export it the way you normally would, for example H.264 for social feeds or YouTube.
Only export with alpha again if the composite itself needs to stay transparent, for instance a device-plus-title element you will reuse in another project. In that case, choose ProRes 4444 and make sure the export includes the alpha channel.
Troubleshooting#
| Problem | Likely cause | Fix |
|---|---|---|
| Black around the device | No alpha in the file (MP4, ProRes 422), alpha ignored, or nothing on the track below | Use a ProRes 4444 MOV, check Interpret Footage or Clip Attributes, add footage below |
| Dark halo on soft edges | Premultiplied alpha read as straight | Change the clip's alpha interpretation |
| Final Cut Pro will not import the file | It is a WebM | Use the MOV version |
| The device looks soft | Scaled up from a small source | Start from a 4K clip and scale down, not up |
| The device looks pasted on | No shadow, or motion that starts and stops abruptly | Add a subtle drop shadow and ease the keyframes |
| Playback stutters in the timeline | Large ProRes 4444 files | Render the section, or use proxies while editing |
Where to go next#
- For framing a screen recording of an app rather than a website, see adding an iPhone frame to a screen recording.
- For finished, framed videos on a background without an editor, see scrolling website mockups.
- To record the website itself well, how to make a scrolling video of a website covers devices, speed and motion.
Sources
- Final Cut Pro User Guide: Use alpha channels (checked September 2026)
- Final Cut Pro User Guide: Work with built-in effects (checked September 2026)
- Final Cut Pro User Guide: Media formats supported (checked September 2026)
- Adobe Premiere Pro User Guide: Modifying clip properties with Interpret Footage (checked September 2026)
- Adobe Premiere Pro User Guide: Compositing, alpha channels, and adjusting clip opacity (checked September 2026)
- Adobe Premiere User Guide: Add keyframes (checked September 2026)



Make your site move.
Any page, one smooth 4K video. Framed, on any background, or transparent.
Questions, answered
How do I overlay a transparent video in Final Cut Pro?
Import the transparent clip, position the playhead, select the clip in the browser and choose Edit → Connect to Primary Storyline (or press Q). It sits above your main footage and its alpha channel controls where the footage shows through. Use Transform (Shift-T) in the viewer to move and scale it.
Why does my ProRes 4444 clip show a black background in Premiere Pro?
Either there is nothing on the track below it, which Premiere shows as black, or the alpha is being ignored. Right-click the clip in the Project panel, choose Modify → Interpret Footage, and make sure Ignore Alpha Channel is not selected. Also check the file really is ProRes 4444 and not 422.
Can Final Cut Pro import a WebM with alpha?
Not natively: WebM is not on Final Cut Pro's list of supported media formats. macOS media extensions can add third-party formats on macOS Sequoia or later, but the simplest route is a ProRes 4444 MOV, which Final Cut Pro reads with its alpha channel.
Should I use straight or premultiplied alpha?
Either works if the editor interprets it correctly. Straight keeps slightly more accurate colour; premultiplied is compatible with more apps. If you see a dark halo around soft edges, the clip is being read as the wrong type, so change its alpha interpretation.
Do I need a paid template or plugin for an iPhone mockup?
No. Any transparent device clip in ProRes 4444 works as a mockup in Final Cut Pro, Premiere Pro and DaVinci Resolve. Templates help if you want a ready-made 3D camera move; for a clean device showing a website, a transparent clip is quicker.
How do I set the alpha mode for a clip in DaVinci Resolve?
Right-click the clip in the Media Pool, choose Clip Attributes, and look for the alpha setting on the Video tab. Make sure it is not set to None, and choose straight or premultiplied to match how the file was exported.