To show a website in a presentation without risking a live demo, record the site as a short video and embed the file in your deck, so it plays without Wi-Fi, logins or pop-ups. In Keynote, add the movie, deselect Start movie on click and set Repeat to Loop; in PowerPoint for Mac, choose Insert → Video → Movie from File, set Start to Automatically and select Loop until Stopped; in Google Slides, upload the video to Google Drive, insert it and choose Play (automatically). You can record the scroll with your Mac's screen recorder, or with GlidePage, a Mac app for Apple Silicon that exports smooth 16:9 device-framed loops in 4K or HD, plus stills for a fallback slide.
On this page
- Live demo or recorded demo?
- Step 1: record the website as a short video
- Add the video in Keynote on Mac
- Add the video in PowerPoint for Mac
- Add the video in Google Slides
- Can a transparent device mockup sit on a slide?
- Keep a still as a fallback
- Making the demo clips with GlidePage
- Tips for a pitch-deck demo slide
The demo slide is where presentations go wrong. The Wi-Fi drops, the site asks you to log in again, a cookie banner covers the headline, and the room watches a loading spinner while you apologise. A recording avoids all of it: it plays the same way every time, whether or not there is a connection.
This guide covers when to demo live and when to record, how to add a website video to Keynote, PowerPoint and Google Slides so it plays by itself and loops, whether a transparent device mockup works on a slide, and how to build a demo slide that people remember.
Live demo or recorded demo?#
A live demo can feel more convincing, and sometimes it is the right call: a technical audience that wants to see real data, or a sales call where the prospect asks "can it do this?" For a pitch, a talk or a client presentation, a recording is the safer choice almost every time.
What goes wrong live:
- The connection. Venue Wi-Fi, a phone hotspot, a VPN that drops at the worst moment.
- Logins. Sessions expire, and the two-factor code goes to the phone in your bag.
- The page itself. Cookie banners, chat widgets, pop-ups, a slow hero video, or a deploy that went out an hour ago.
- Your screen. Notifications, other tabs, and switching out of the slide show in front of everyone.
"Embedding" a website does not remove the connection problem. Keynote's own guide says you must be connected to the internet to play a video from the web, and Microsoft says the same for online videos in PowerPoint, because they are stored on the website rather than in your presentation. Add-ins that load a live page inside a slide depend on the connection in the same way.
| Option | Needs internet on the day | Shows motion | Risk |
|---|---|---|---|
| Switching to a browser mid-talk | Yes, unless the site runs locally | Yes | High |
| An online video (such as YouTube) on the slide | Yes | Yes | Medium |
| A video file embedded in the deck | No | Yes | Low |
| A still image | No | No | Lowest |
An embedded video file is the sweet spot: it moves like a live demo and behaves like a picture.
Step 1: record the website as a short video#
Record before you build the slide, with the slide in mind:
- Match the slide's shape, usually 16:9, so the video fills its space without bars.
- Keep it to 10 to 20 seconds: one page, or one section of it.
- Make it silent. You will be talking over it.
- Use MP4 with H.264. Microsoft recommends .mp4 files encoded with H.264 video and AAC audio for PowerPoint, and Keynote accepts any format QuickTime supports on your Mac, so one H.264 MP4 works in both.
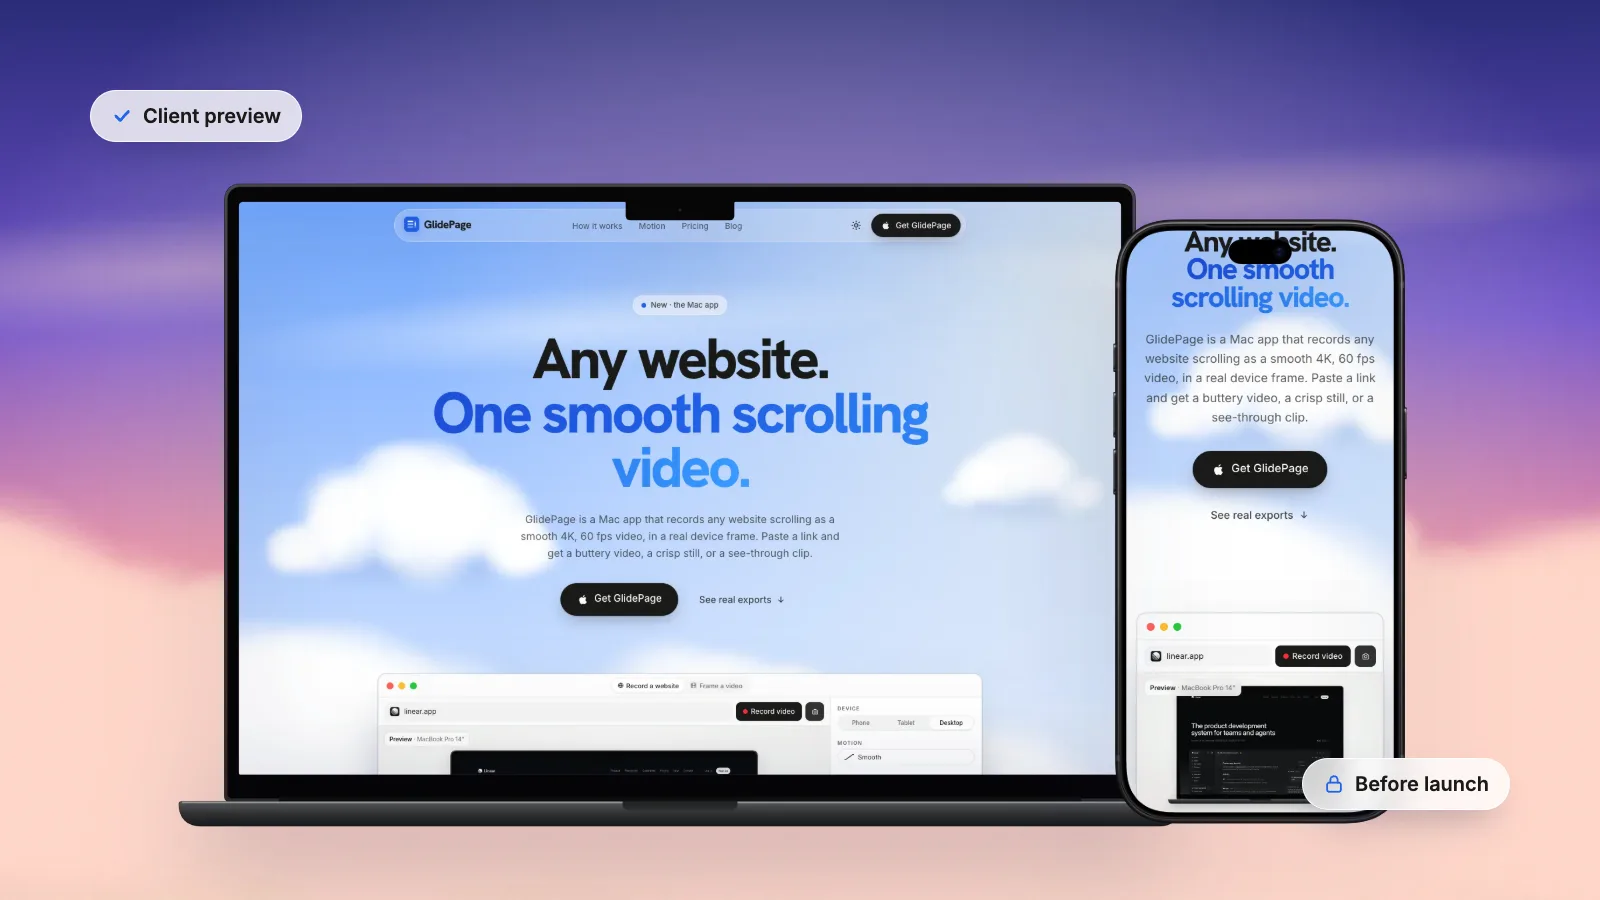
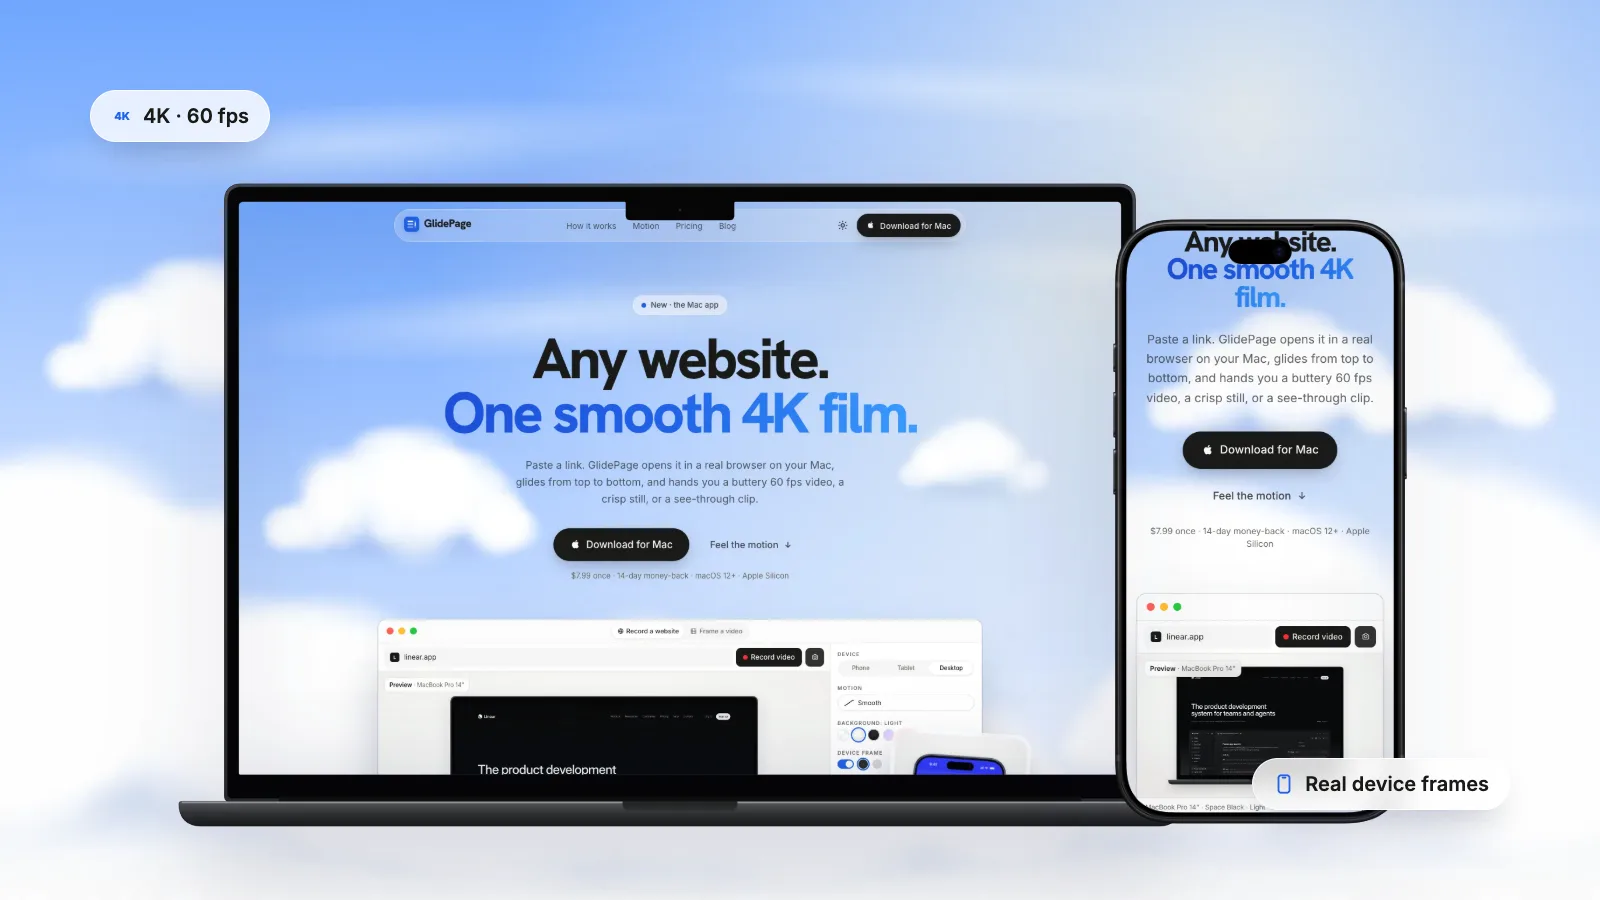
- Put it in a frame. A laptop or phone frame on a background tells the room at a glance what they are looking at. Scrolling website mockups covers choosing one.
You can record the scroll yourself with your Mac's Screenshot toolbar while scrolling by hand, then add the frame in an editor or in the slide itself. How to make a scrolling video of a website walks through that and the other methods, and what makes the result look smooth rather than shaky.
Add the video in Keynote on Mac#
1. Add the movie
Drag the video file from Finder onto the slide, or onto a media placeholder. Or click the Insert Media button in the toolbar, choose Choose Photos or Videos, and drag the video onto the slide from there. If a file will not add or play, Apple suggests converting it to a QuickTime movie (.mov) with QuickTime Player or iMovie.
2. Make it start automatically
Select the video, open the Format sidebar and click the Movie tab. Deselect Start movie on click. The video now plays as soon as the slide appears.
3. Loop it
In the same tab, open the Repeat pop-up menu and choose Loop. The video repeats until you advance the slide. Loop Back and Forth plays it forward and then backward, which for a scroll looks like the page gliding back up to the top.
4. Trim and set the poster frame
Click the disclosure arrow next to Edit Movie. Drag the Trim sliders to cut dead time at the start or end, and the Poster Frame slider to choose the frame that represents the video on the slide. If the same video should keep playing through several slides, select Play movie across slides.
Add the video in PowerPoint for Mac#
1. Insert the file
In Normal view, select the slide. On the Insert tab, click Video, then Movie from File. Choose the file and click Insert to embed it. You can also link to the file instead (click Options, then Link to file), but Microsoft notes that links can break, while an embedded video only makes the presentation bigger. For a deck you will present from another computer, embed it.
2. Play it automatically
Select the video and open the Playback tab. In the Start list, choose Automatically. The default, In Click Sequence, waits for your next click or key press before the video plays.
3. Loop it
On the same Playback tab, select Loop until Stopped so the video keeps repeating while the slide is up.
4. Test it in Slide Show
Play the slide in Slide Show on the Mac you will present from, not just in the editing view. If playback is heavy on an older machine, an HD export is much lighter than 4K.
Add the video in Google Slides#
Google Slides inserts video from three places: a YouTube search, a URL, or Google Drive. So a video file on your Mac goes into Drive first.
1. Upload the video to Google Drive
Upload the MP4 to Drive as you would any file.
2. Insert it
Click the slide, then choose Insert → Video. Choose Google Drive, pick the video and click Select.
3. Make it play automatically
Select the video and click Format options in the toolbar (or right-click the video and choose Format options). Under Video playback, choose Play (automatically). The default, Play (on click), plays the video when you advance the slide; Play (manual) only plays it when you click the video itself.
Two things to know
Google's help page lists no loop option for video, so trim the clip to the length you need on screen rather than relying on it to repeat. And because the video comes from Drive, presenters need access to it: Google's help includes a section on sharing presentations with video files so other presenters can play them. If someone else will run the deck, share it with them, confirm the access changes it suggests, and test it from their account.
Can a transparent device mockup sit on a slide?#
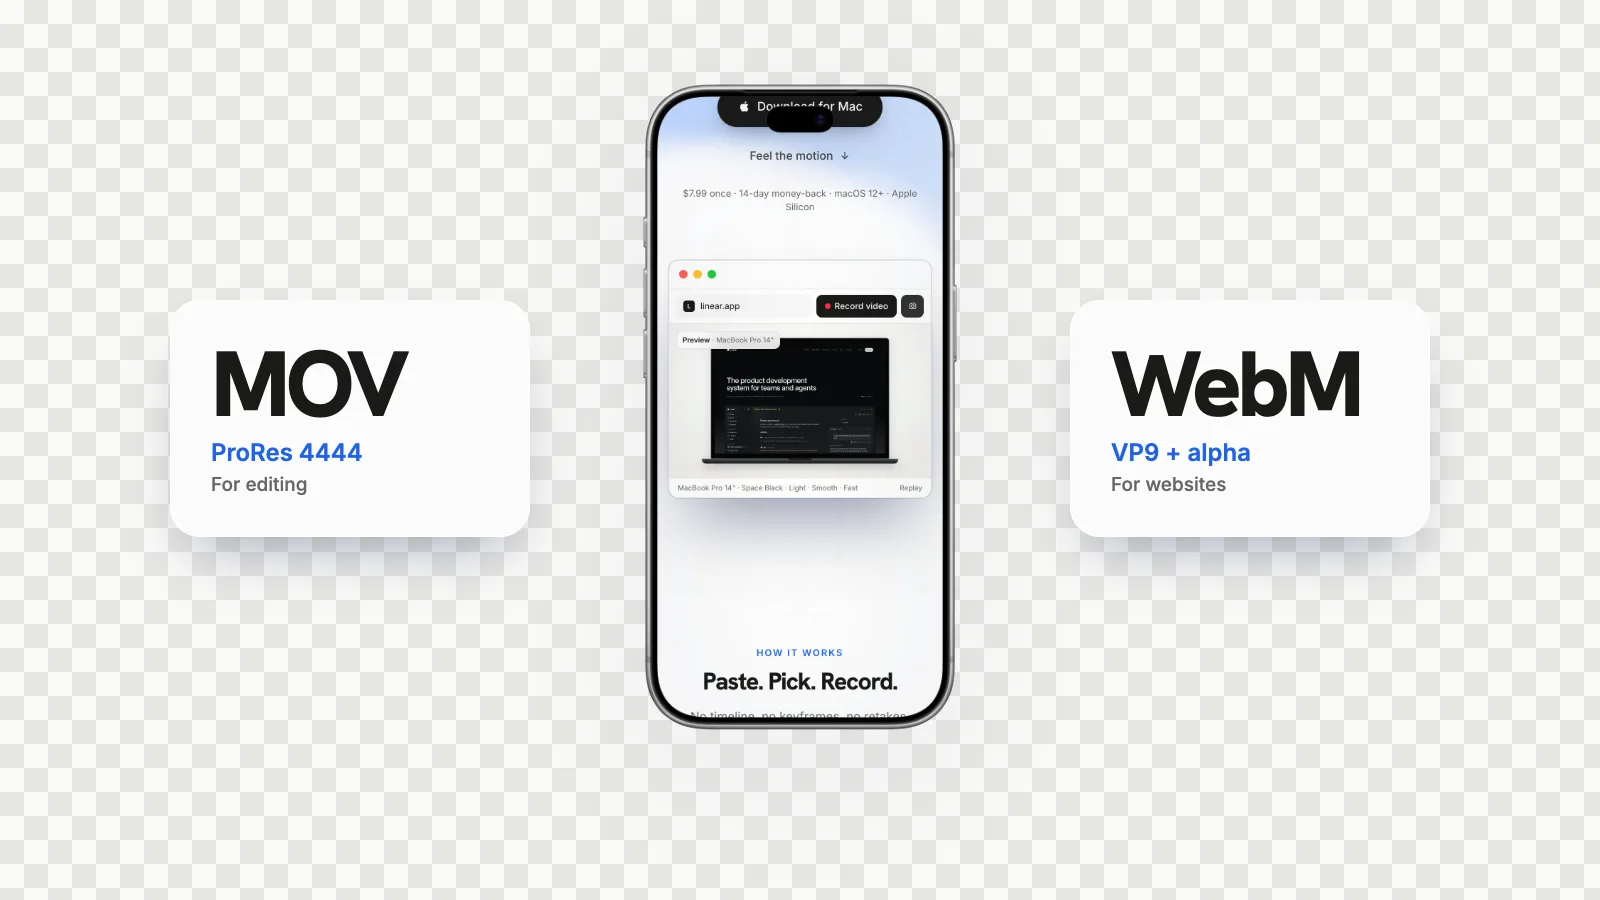
A transparent video is a device floating directly on your slide design, with no box around it. The format that carries transparency for editing apps is Apple ProRes 4444 in a MOV. How to make a video with a transparent background explains how alpha channels work, and ProRes 4444 vs WebM with alpha compares the formats.
In Keynote, test it in your deck. Keynote on a Mac accepts ProRes movies, but two things can get in the way:
- The media optimisation settings. Choose Keynote → Settings, click General, and in the Adding Media section deselect both Optimize media for iPhone, iPad, and Apple Vision Pro and Optimize media for older devices. With either one selected, Keynote converts ProRes movies to H.264 or HEVC as you add them, and you cannot count on the alpha channel surviving that. The settings only apply to media you add afterwards, so change them first.
- No official word on playback. Apple's Keynote guide does not say whether a movie's alpha channel shows through on a slide. Put the MOV on a slide with a strongly coloured background and play the slide show. If the colour shows around the device, it works on that Mac.
Also mind the size. Transparent 4K ProRes 4444 files are large: roughly 40 MB per second at 60 fps, so a 15-second loop adds around 600 MB to the deck.
The safe choice is a background version. Export the same clip on a solid background set to your slide's colour. On a plain slide it looks almost the same as transparency, it is a fraction of the size, and it plays everywhere.
In PowerPoint and Google Slides, use a video on a background. Microsoft recommends H.264 MP4 files for PowerPoint, Google Slides plays video from YouTube or Drive, and H.264 has no alpha channel. Match the video's background to the slide and nobody will notice the edge.
For a floating device without the video, a transparent PNG still drops onto a slide in any of the three apps.
Keep a still as a fallback#
Even an embedded video can let you down: a codec the presenting computer does not like, an older machine that struggles with 4K, a deck that ends up shared as a PDF. A still of the same screen costs nothing:
- Add a backup slide right after the video slide with a sharp still of the key screen, and skip it unless you need it.
- Choose a good poster frame. In Keynote, the poster frame is the frame shown on the slide to represent the video, so pick one that tells the story on its own.
- Plan for the PDF. If the deck will also be sent as a PDF, each video slide needs a still that makes sense without motion.
- Use high-resolution stills. A projector or a large screen shows every soft edge, so capture stills at a higher resolution than the slide.
Making the demo clips with GlidePage#
Recording a clean scroll by hand takes several takes, and framing it takes a round trip through an editor. GlidePage, a Mac app, does both in one step: paste the link, pick a device, press Record. For slides, the settings that matter:
- 16:9 on a background. Choose a background and the 16:9 canvas. Framed desktop recordings come out at 3840 × 2160 in 4K, or 1920 × 1080 in HD, and a phone can sit on a 16:9 background too.
- Backgrounds that match your deck. Light, Midnight, Aurora, Sunset, or any custom solid colour or gradient, so the video blends into your slide design.
- Smooth, silent loops. Every frame is captured one at a time at up to 60 fps, so the scroll never stutters. Six motion curves include Smooth and Page by page, which pauses on each screen while you talk.
- 4K or HD. HD records noticeably faster and keeps decks light. In one test, the same page in a MacBook Pro 14 frame came out at 26.9 MB for 22.7 seconds in 4K at 60 fps, and 10.1 MB for 22.8 seconds in HD at 30 fps.
- Transparent ProRes 4444. With the frame on and the background set to None, you get a MOV with alpha for Final Cut Pro, Premiere Pro, DaVinci Resolve and After Effects, or for testing in Keynote.
- Stills from photo mode. A 4K PNG from any point on the page, transparent if there is no background.
It records a top-to-bottom scroll only, so hover and click interactions are not captured. For a logged-in dashboard, sign in with Take control first and the recording keeps the session; links protected by HTTP basic auth are not supported. To show clicks, screen record them yourself and use GlidePage's Frame a video option to place the recording in a device frame on a background. There is no narration either, which suits a slide you talk over. Everything runs on your Mac: nothing is uploaded, and no account is needed. It needs an Apple Silicon Mac with macOS 12 or later.
Tips for a pitch-deck demo slide#
- One idea per slide. "Here is the onboarding" or "Here is the report", not the whole product in one clip.
- A headline that says what to notice. "Setup takes one screen" above the loop tells the room where to look.
- Short, silent and looping. 10 to 20 seconds, no sound, repeating until you move on, so you never wait for a video to finish.
- Text big enough to read. Small interface text disappears from the back of a room. Zoom the page in before recording, or crop to the section that matters.
- A clean loop point. End on a frame that flows back to the start, or on a still moment that works as a pause.
- Rehearse on the real setup. Present from the same Mac, with the deck and its videos saved on the local drive, and click through every video slide once in the room if you can.
- A still in reserve. The backup slide from the section above, just in case.
If the audience is a client reviewing a new site rather than investors, how to present a website to a client covers the structure of that meeting, from restating the goals to the handoff.
A recorded demo takes the risk out of the one slide everyone is watching. Record it, embed it, set it to play and loop, and keep a still behind it.
Sources
- Keynote User Guide for Mac: Add video and audio (checked September 2026)
- Keynote User Guide for Mac: Edit video and audio (checked September 2026)
- Keynote User Guide for Mac: Set movie and image formats (checked September 2026)
- Microsoft Support: Insert and play a video file from your computer (checked September 2026)
- Microsoft Support: Insert a video from YouTube or another site (checked September 2026)
- Google Docs Editors Help: Insert or delete images and videos (checked September 2026)



Make your site move.
Any page, one smooth 4K video. Framed, on any background, or transparent.
Questions, answered
Can I embed a live website in PowerPoint or Keynote?
Not with their built-in video tools. Keynote and PowerPoint can add online videos from sites such as YouTube, but those need an internet connection to play, and add-ins that load a live page do too. For a demo that always works, record the website as a video and embed the file in the deck.
What if the Wi-Fi fails during my presentation?
An embedded video file in Keynote or PowerPoint plays from the presentation itself, so it does not need a connection. Online videos and live pages will not load. Keep a still of the key screen on a backup slide in case anything else goes wrong.
How do I make a video play automatically and loop in Keynote?
Select the video, open the Format sidebar and click the Movie tab. Deselect Start movie on click so it plays when the slide appears, then choose Loop from the Repeat pop-up menu so it repeats until you advance.
How do I make a video play automatically in Google Slides?
Select the video, click Format options in the toolbar, and under Video playback choose Play (automatically). Google's help page does not list a loop option, so trim the clip to the length you need on screen.
Can I put a transparent device mockup video on a slide?
In Keynote it is worth testing: Keynote accepts ProRes movies, but Apple does not document whether their transparency shows on a slide, and its media optimisation settings can convert them to other formats. For PowerPoint and Google Slides, and as the safe choice in Keynote, use a video on a background that matches the slide colour.
Should a pitch deck demo slide use a screenshot or a video?
A short, silent, looping video shows the product in motion and holds attention while you talk. Keep a still of the same screen as a backup slide, and use it on any version of the deck you share as a PDF.