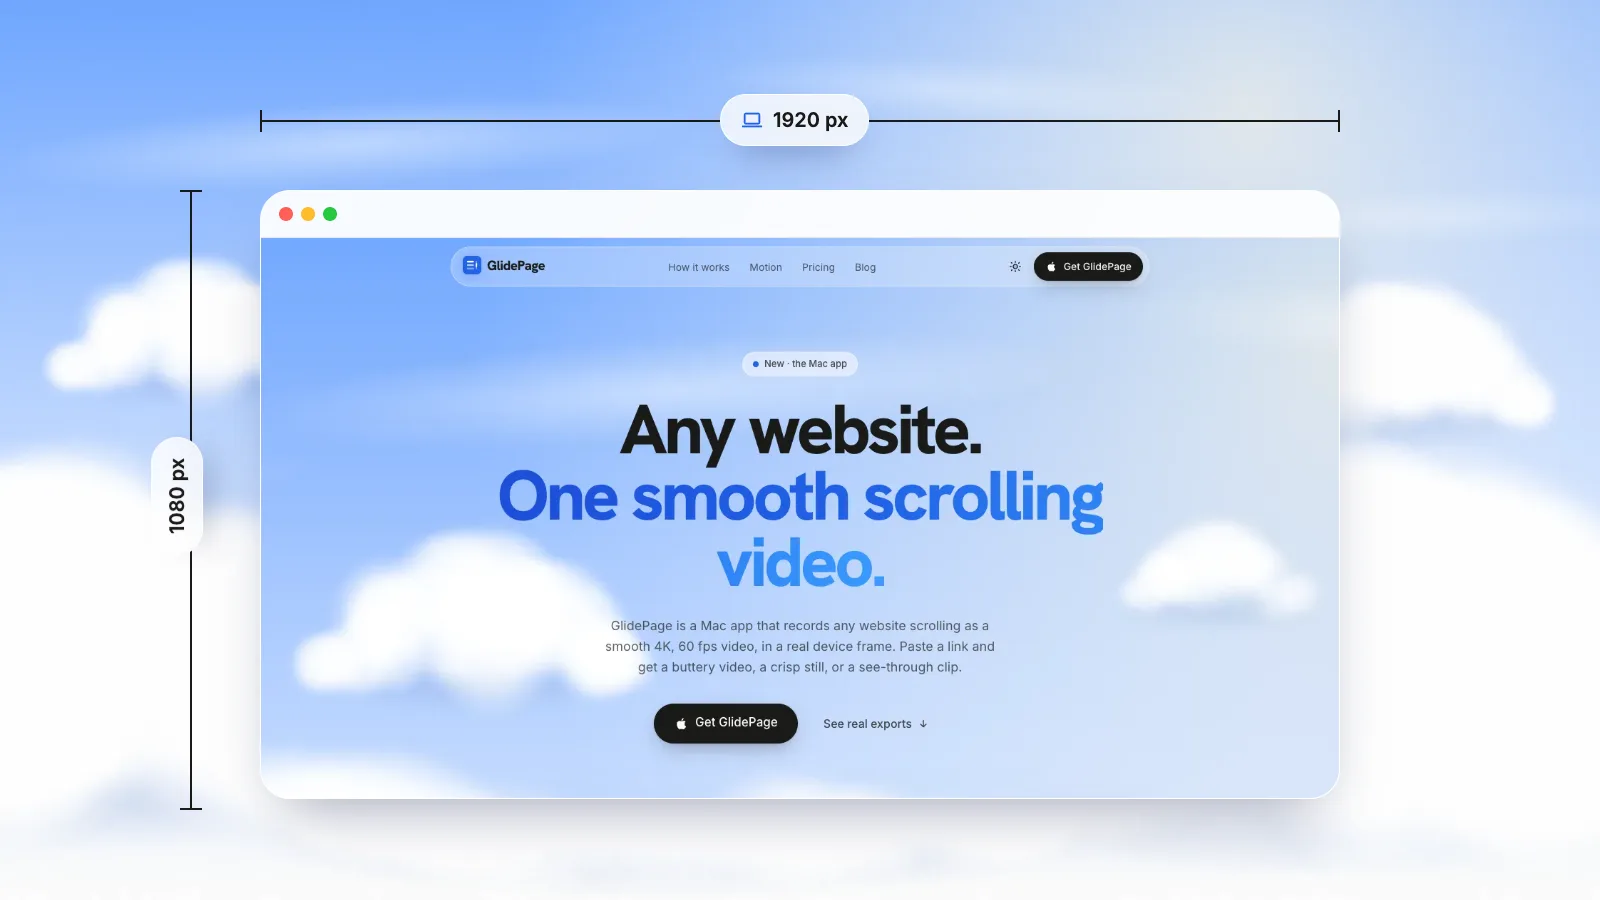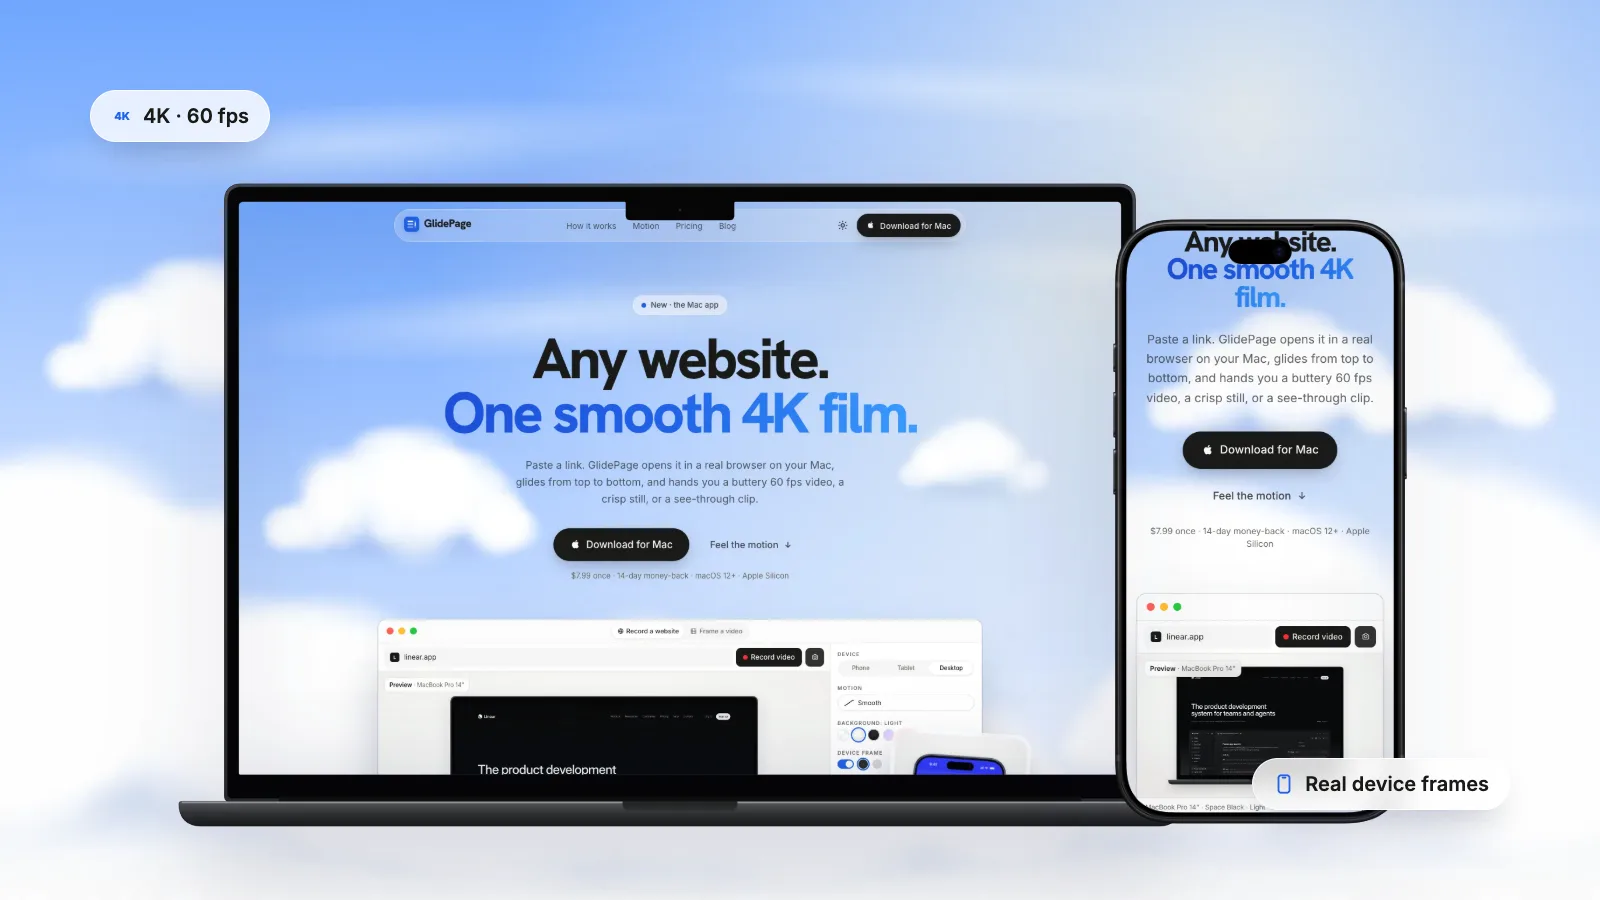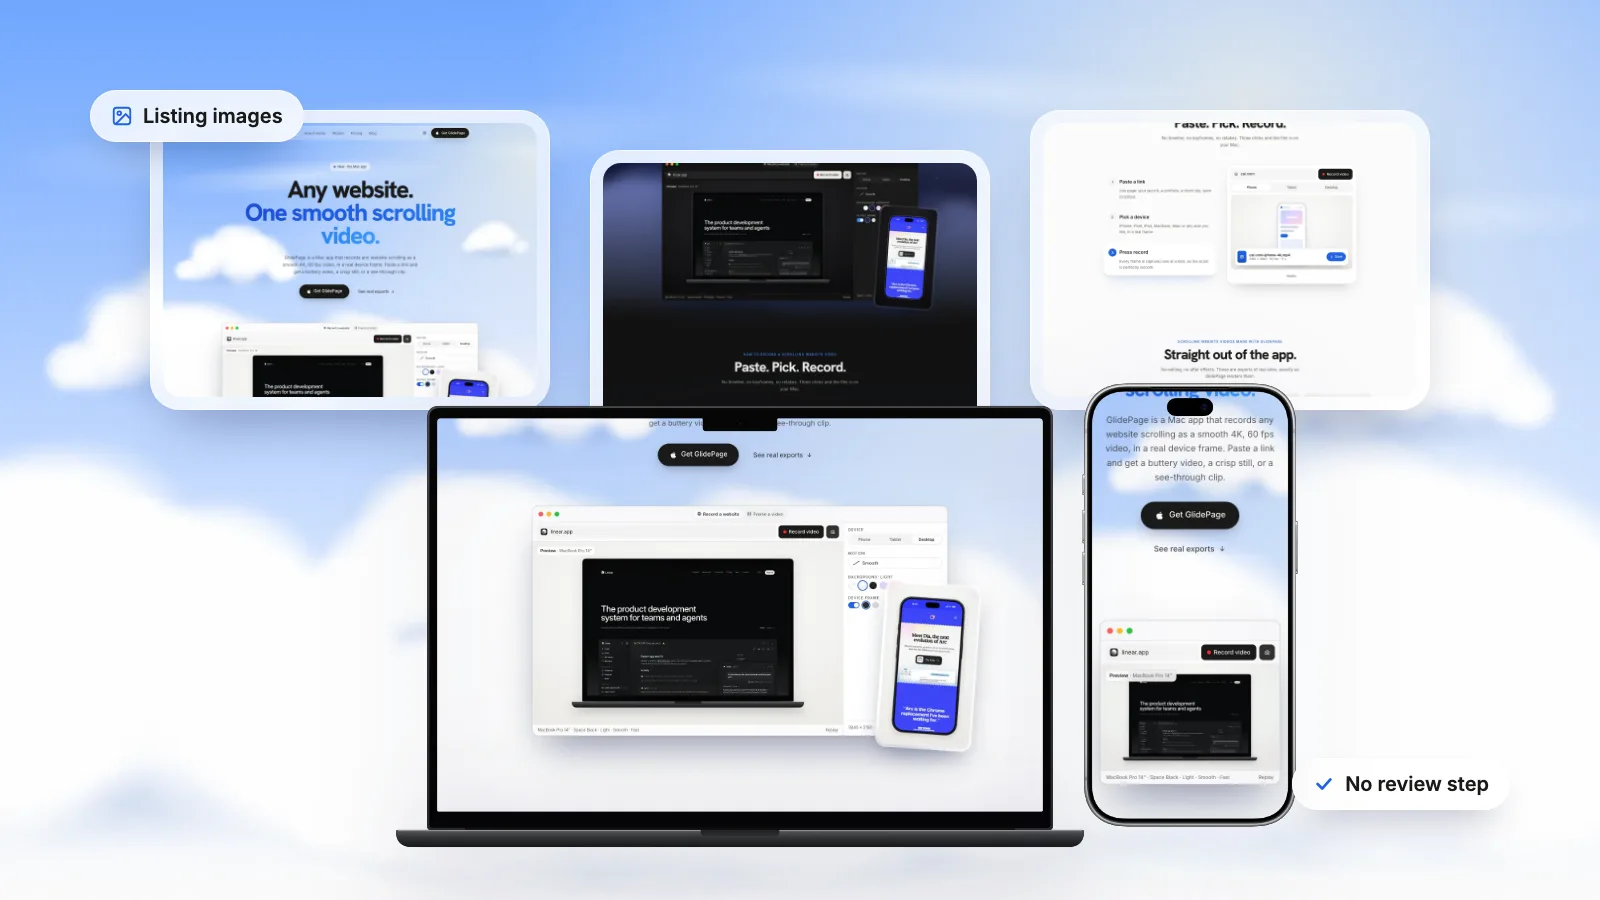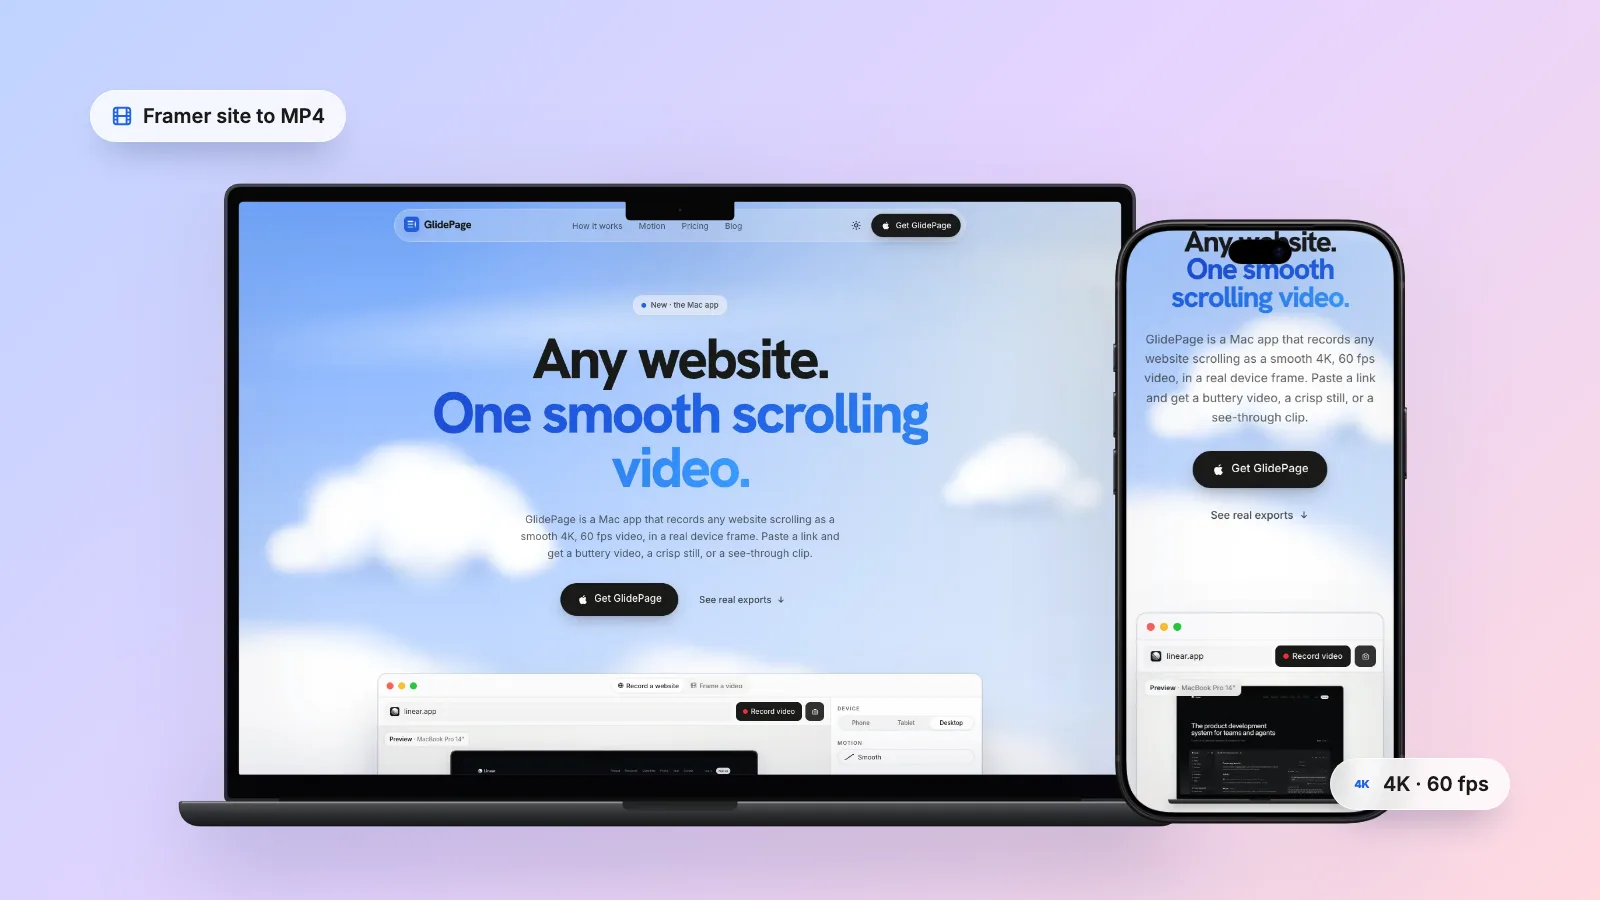
Framer cannot export a site as a video, so you record the published page instead. The free way is macOS screen recording (Shift-Command-5, then Record Selected Portion) while you scroll the live framer.app address, optionally with a short script that scrolls at a constant speed, but real-time recordings drop frames and stop at your display's resolution. GlidePage, a Mac app for Apple Silicon, records the published URL frame by frame instead, so you get a smooth 4K, 60 fps MP4 with nothing added to the site's code.
On this page
- Can Framer export a site as a video?
- Which address should you record?
- The free way: record your screen on a Mac
- A constant-speed scroll, without your hand
- Why hand recordings of Framer sites stutter
- The smooth way: record the published URL with GlidePage
- One recording, every place a Framer site goes
- MP4 or GIF, 4K or HD?
- Checklist before you record a Framer site
You finished the site. The canvas looks right, the published page feels smooth, and now you need it as a video: for a Framer Community post, a template listing, a launch on X, a portfolio case study or a client handoff. Then you look for the export button, and there isn't one.
This guide covers what Framer can and cannot export, which address to record, the free way to do it on a Mac (including the constant-speed scroll script some creators use), why those recordings so often stutter, and how to get a smooth 4K video of any Framer page without touching its code.
Can Framer export a site as a video?#
No. Framer builds and hosts websites, and it has no option that turns a page into an MP4. Its help centre is clear that it does not even export a published site as HTML files. Everything you make in Framer lives on the web, so every video of a Framer site, including the ones you see in template listings and launch posts, is a recording of the live page.
That is good news in one way. A recording of the published site shows exactly what a visitor or buyer gets: the real fonts, images, breakpoints and effects, not a picture of the canvas. The only question is how to record it well.
Which address should you record?#
Framer gives a site several addresses, and any of them can be recorded as long as it opens in a browser:
| Address | What it is | Good for |
|---|---|---|
| yoursite.framer.app | Created automatically when you publish | Template previews, quick tests |
| A free subdomain, such as yoursite.framer.website | Optional, set up for free in the domain settings | A tidier name if the address shows in the video |
| Your custom domain | A domain you own, connected to the project | Client work, launches, portfolios |
| A staging link | Only available once a custom domain is connected | Recording changes before they go live |
For a template, record the same live preview URL you list in the Framer Community, so the video shows exactly what buyers will remix.
Two settings need a little care:
- Protected Staging. With it on, Framer says only logged-in users with project access can view staging links. That is a Framer account sign-in, not a password typed into the page, so the simplest plan is to record a published address, or switch protection off for the take.
- Password protection. A Framer site password is one shared password in front of the whole site, and the browser remembers it once entered. For a hand recording, type it before you start.
The same goes for Webflow, or any other site builder: a published page is just a URL, and everything below applies to it too.
The free way: record your screen on a Mac#
macOS has screen recording built in. It costs nothing and works with any browser.
1. Open the published site at the size you want
Open the live URL in Safari or Chrome and make the window the shape of the video you want: wide for a 16:9 desktop clip. Close other tabs, hide the bookmarks bar and turn on a Focus mode so no notification slides in mid-take. If you need an exact size such as 1920 × 1080, see how to set a browser window to an exact size.
2. Load everything before you record
Scroll slowly to the bottom so images and fonts are loaded, then go back to the top. That first pass also plays any reveal that runs only once, so reload the page at the top before the real take. Recording Framer scroll animations explains which effects need this.
3. Start the recording
Press Shift-Command-5, choose Record Selected Portion and drag the frame around the page area only, leaving out the tabs and the address bar. Under Options, a short timer gives you time to get your hand back on the trackpad, and Show Mouse Clicks should stay off. Move the pointer out of the frame and click Record.
4. Scroll in one steady motion
Use a trackpad: one long, slow two-finger swipe, then let it glide. Avoid the Space bar, which jumps a whole screen at a time. Slow down a little where sections reveal, so they finish while they are on screen.
5. Stop and trim
Click the Stop button in the menu bar or press Command-Control-Esc. Open the file in QuickTime Player and use Edit → Trim to cut the dead time at both ends. The recording is a MOV file; if a platform wants MP4, ffmpeg or any video editor converts it.
A constant-speed scroll, without your hand#
A hand on a trackpad never scrolls at a perfectly even speed. So some Framer creators paste a few lines of code that scroll the page for them, then record that. Every take moves at the same pace.
You can add code to a Framer site in Project Settings → Custom Code → Add Script, but think twice before you do: that code is published with the site, so an auto-scroll would also scroll the page for your visitors and buyers. It is safer to run it in the browser's JavaScript console, which only affects your own tab. (In Safari, turn on the Develop menu in Safari's Advanced settings first.)
Here is a small version that scrolls at a fixed number of pixels per second, whatever your display's refresh rate:
// Scrolls the page at a constant speed, 3 seconds after you press Return
setTimeout(() => {
  const speed = 500; // pixels per second
  const end = document.documentElement.scrollHeight - innerHeight;
  let start = null;
  function step(now) {
    if (start === null) start = now;
    const y = Math.min(end, ((now - start) / 1000) * speed);
    window.scrollTo({ top: y, behavior: 'instant' });
    if (y < end) requestAnimationFrame(step);
  }
  requestAnimationFrame(step);
}, 3000);
The behavior: 'instant' option matters: MDN notes that without it, scrolling follows the page's CSS scroll-behavior, and a site set to smooth scrolling would animate every tiny step.
To use it:
- Load the whole page as in step 2 above, and return to the top.
- Open the console, keep it docked below or beside the page, and paste the code without pressing Return yet.
- Start the screen recording with only the page area selected, so the console stays out of the shot.
- Click into the console and press Return. Three seconds later the page starts to move.
At 500 pixels a second, a window 900 pixels tall moves a little under two seconds per screen. Raise the number for long pages. If the site uses a smooth-scroll component of its own, it may fight the script, so do a test run.
The script fixes the speed, not the live recording. The scroll position follows the clock, so when the Mac falls behind, the page jumps ahead and the video shows the jump. A constant speed also looks mechanical next to a camera move that eases in and out, and the video is still limited to your display's resolution.
Why hand recordings of Framer sites stutter#
Framer sites are often the kind of page that live recording handles worst: big images, parallax, transforms, tickers and blur, all moving at once. Your Mac has to render all of that and encode video in real time, and when it falls behind, frames are dropped. Images that load as they come into view pop in or sharpen mid-shot, which creators describe as the recording "re-rendering" the images. And every burst in your hand shows twice on scroll-linked effects, because they move with the scroll.
Why screen recordings look choppy goes through each cause in detail. In short:
| What you see | Likely cause | Free fix |
|---|---|---|
| The page jumps every so often | Dropped frames | Quit other apps, record a smaller area |
| Images pop in or sharpen late | Loading during the take | Scroll through once first |
| A steady judder | 120 Hz display, 60 fps recording | Set the display to 60 Hz |
| The speed surges and slows | Hand scrolling | A constant-speed script, or an eased automatic scroll |
| Reveals are missing | They already played once | Reload at the top before the take |
| Text looks soft | Capped at display resolution | Record a larger area, or capture at 4K |
The smooth way: record the published URL with GlidePage#
GlidePage is a Mac app that records the live page frame by frame instead of in real time. It opens the site in its own built-in browser, scrolls through once so images, fonts and reveal animations load, then captures every frame one at a time with a controlled clock and encodes the video. Because no frame is rushed, the scroll is perfectly smooth however busy your Mac is. Nothing is added to your Framer project, nothing is uploaded, and no account is needed.
1. Paste the address
Use the framer.app address, a free Framer subdomain, your custom domain or a staging link. If a password page, a popup or a promo bar is in the way, open Take control: a site password page is an ordinary form on the page, so type the password there, or close the popup, then press Done. The session carries into the recording; check the preview shows the site before you press Record. A banner that appears on every load can be removed with Hide element. Some sign-in providers refuse an automated browser, so for Protected Staging, a published address is the safer bet.
2. Pick a device
Choose a MacBook, iMac or Studio Display frame, a drawn Safari window with the site's host in the address bar, or a phone. Phone sizes load the page with a real phone user agent and viewport, so Framer serves your Phone breakpoint rather than a shrunken desktop. Framer mockup videos covers frames, status bar colours and transparent versions.
3. Choose the motion
Steady is the constant-speed script without the stutter. Smooth eases in and out like a camera move, and Page by page stops on each screen. A speed slider sets the pace in seconds per screen. You can also click up to ten places on the page where the scroll should ease to a stop and hold for 0.5 to 5 seconds, which is ideal for the sections that sell.
4. Choose the look and size
Put the device on a solid colour, a gradient, a blurred copy of the page or an animated material, or export just the page. Choose 4K or HD, 60 or 30 fps, and the shape: Auto, 16:9, 9:16, 1:1, 4:5 or 4:3.
5. Press Record
You get an MP4 (H.264), saved wherever you choose in the Save panel. A 22.7-second, 4K, 60 fps recording of this site's landing page took about 4.5 minutes on a MacBook Air with an M4 chip; the HD, 30 fps option took about 2.5 minutes.
On a Framer site, that means:
- Appear effects play from the start. Since version 1.3, animations that run as the page loads are rewound on the first screen, so the video opens on the hero as a visitor first sees it.
- Scroll Transforms, Scroll Speed parallax and sticky sections follow the recorded scroll, so they animate on camera.
- Loops and tickers advance exactly in step with the video, with no skipped frames.
- Reveals that play only once are already finished, because the warm-up pass scrolled past them. Turn on replay for the ones you want to see play.
- Only the top-to-bottom scroll is recorded. Hover states, clicks and page transitions are not.
GlidePage runs on Apple Silicon Macs with macOS 12 or later, and it is a free 7-day trial with no card needed. Trial exports carry a small "captured with GlidePage.app" watermark.
One recording, every place a Framer site goes#
Once you have a smooth take, the details depend on where it is going:
- Template listings. What a listing needs since the Marketplace moved into the Framer Community, and how to make the stills: Framer Marketplace requirements.
- Animated thumbnails and Community feed posts. A short loop that never jumps: Framer template animated thumbnails.
- Device mockups. The Phone breakpoint in an iPhone, the desktop in a MacBook or Safari window: Framer mockup videos.
- Motion-heavy templates. Which Framer effects show on camera, and the replay setting that decides it: recording Framer scroll animations.
- Everything else. Social feeds, portfolios and presentations: start from how to make a scrolling video of a website.
MP4 or GIF, 4K or HD?#
- MP4 for almost everything. It plays everywhere and keeps files small. GIF is limited to 256 colours, so gradients band, and a scrolling GIF of a long page gets very large.
- 60 fps for scrolling. Text moving across the frame shows every gap at 30 fps.
- 4K for anything public. Platforms re-compress uploads, and a sharper source survives it better. HD suits drafts and quick client previews.
- 10 to 30 seconds. One to two seconds per screen gives people time to read the headlines.
Checklist before you record a Framer site#
- The latest changes are published, and you are recording the published URL, not the canvas.
- The Phone breakpoint fills the screen, with nothing wider than the viewport.
- The reveals you want on camera are set to replay.
- Cookie banners, promo bars and chat bubbles are closed or hidden.
- For a hand recording: other apps quit, display at 60 Hz, Focus on, page pre-loaded.
- Export as MP4 at 60 fps, and watch it back once before you post.
Sources
- Framer Help: Publishing your Framer website (checked October 2026)
- Framer Help: Staging and versions (checked October 2026)
- Framer Updates: Protected Staging (checked October 2026)
- Framer Help: How to add custom code (checked October 2026)
- MDN: Window.scrollTo() (checked October 2026)
- Apple Support: How to record the screen on Mac (checked October 2026)




Make your site move.
Any page, one smooth 4K video. Framed, on any background, or transparent. Free for 7 days, no card needed.
Questions, answered
Can Framer export my website as a video?
No. Framer publishes and hosts websites but has no video export, and it does not export sites as HTML either. To get a video, record the published page: with macOS screen recording for free, or with an app that captures the page frame by frame for a smooth 4K result.
Why does my screen recording of a Framer site stutter?
A live recording renders the page and encodes video at the same time, so it drops frames when the Mac falls behind, and effect-heavy Framer pages make that more likely. Images loading mid-take, a 120 Hz display and uneven hand scrolling add to it. Pre-load the page, set the display to 60 Hz, or capture frame by frame instead.
How do I get a constant scroll speed when recording my Framer site?
Run a short script in the browser console that scrolls a fixed number of pixels per second, then screen record it. Avoid adding it to the site as custom code, because it would scroll the page for your visitors too. GlidePage has a Steady motion curve that does the same without any code.
Should I export my Framer site video as MP4 or GIF?
MP4. It keeps full colour, plays everywhere and stays small. GIF is limited to 256 colours and gets very large for a scrolling page, so gradients band and text looks rough.
Which URL should I record: the framer.app address, my custom domain or staging?
Any address that opens in a browser works. Use the framer.app or free Framer subdomain for template previews, your custom domain for client and launch videos, and a staging link to record changes before they go live. Protected Staging needs a Framer sign-in, so a published address is simpler.
Do I need to add code to my Framer site to record it?
No. Screen recording works on the site as it is, and GlidePage records the published URL with nothing added to your Framer project. Only the do-it-yourself constant-speed scroll needs code, and that is best run in your own browser console.