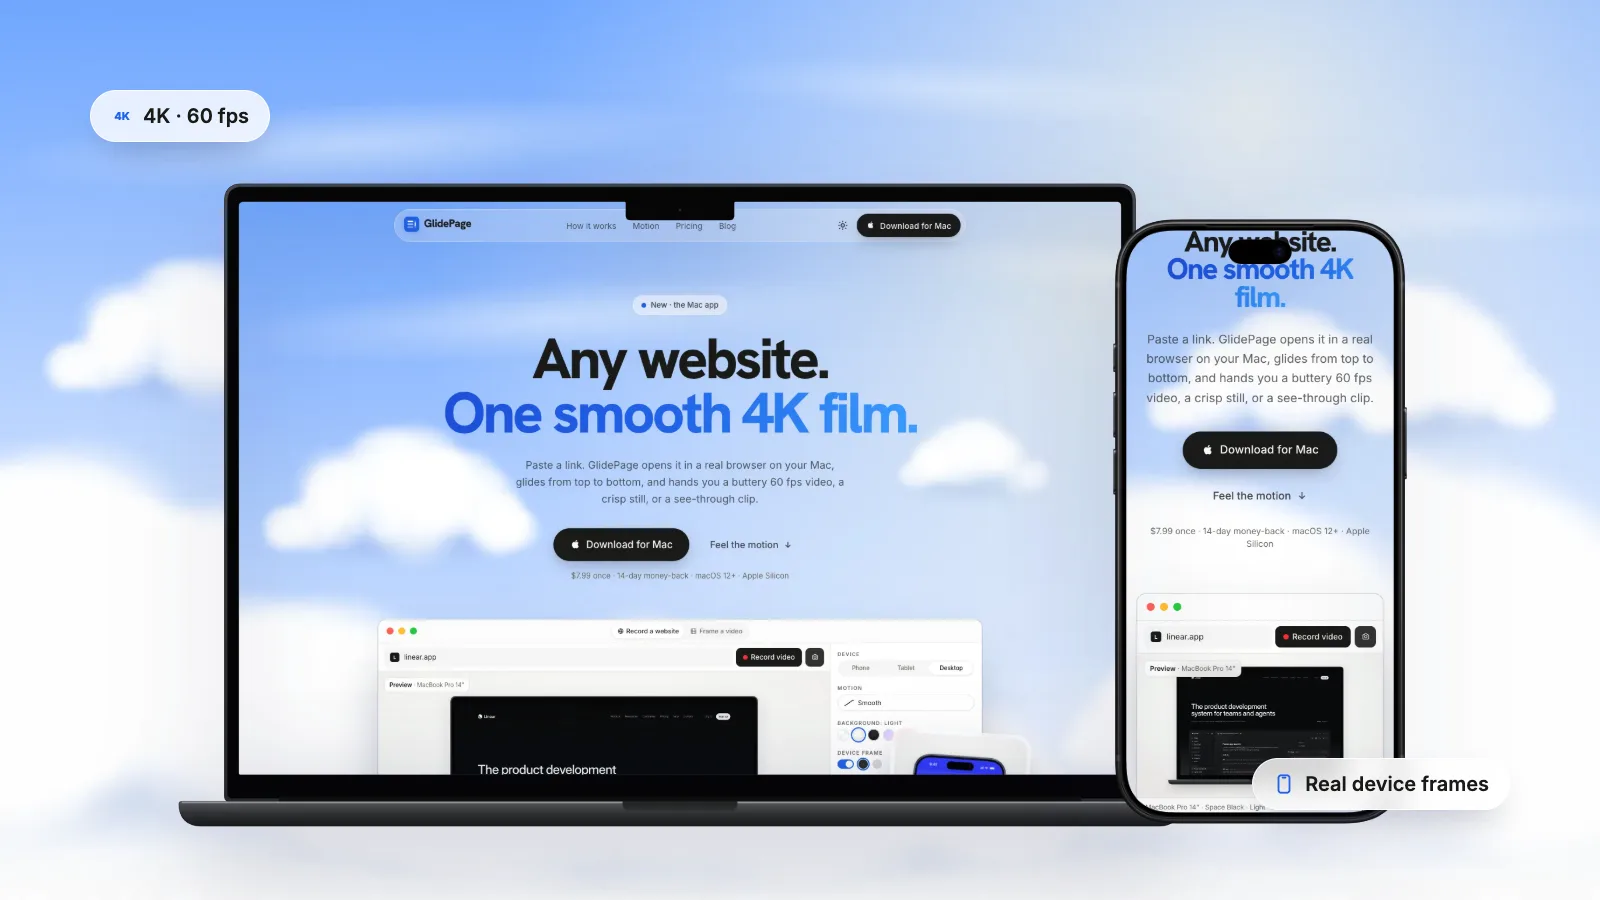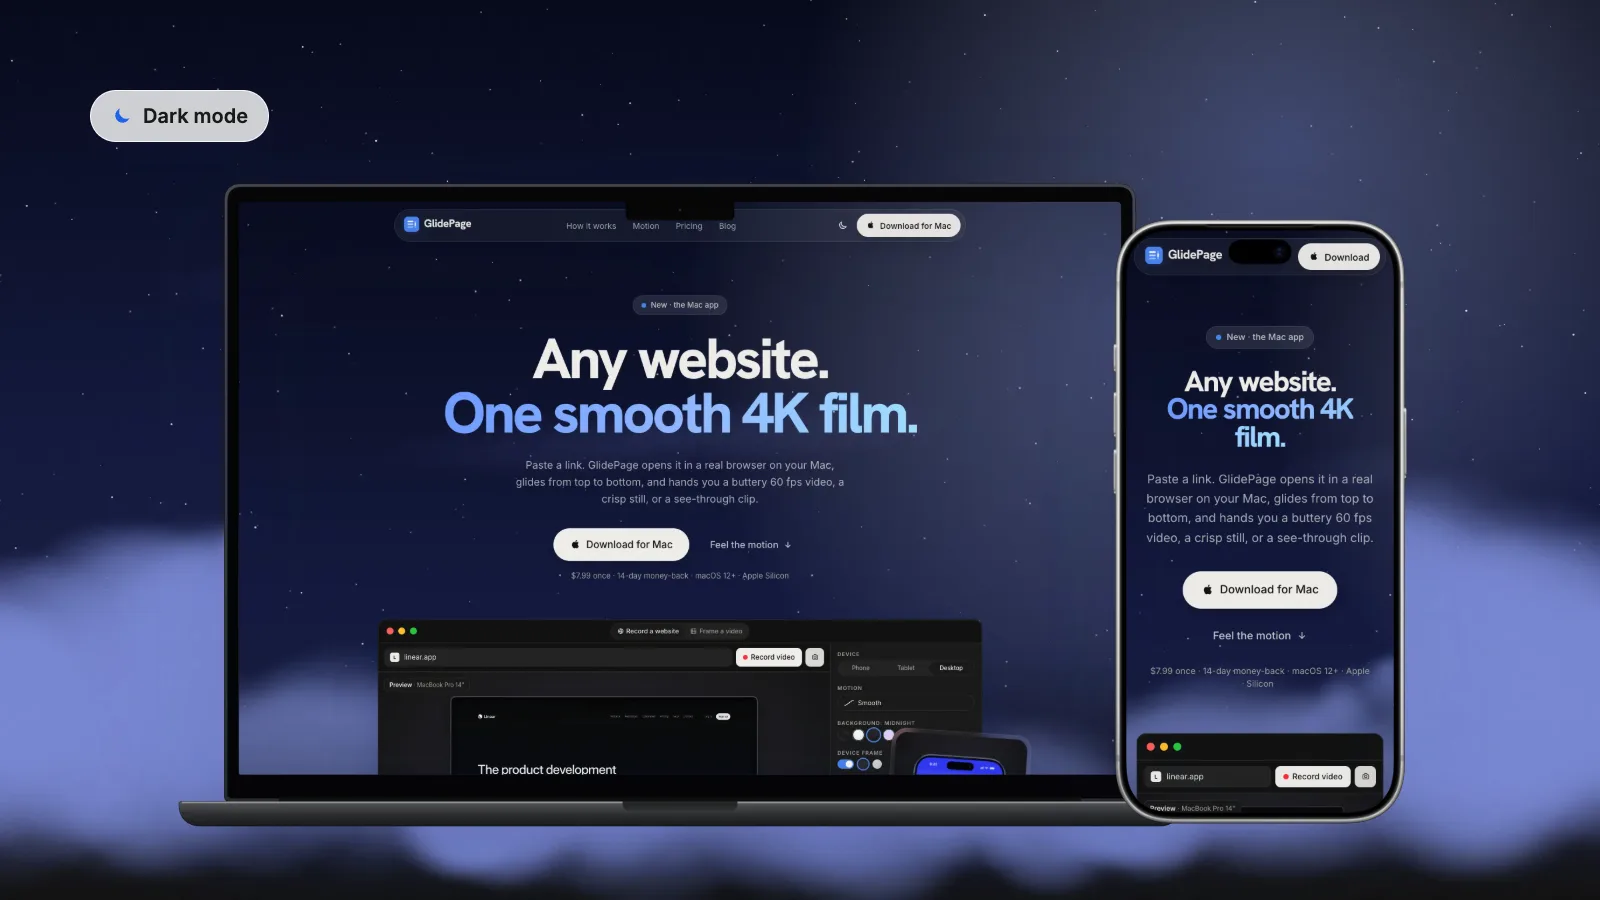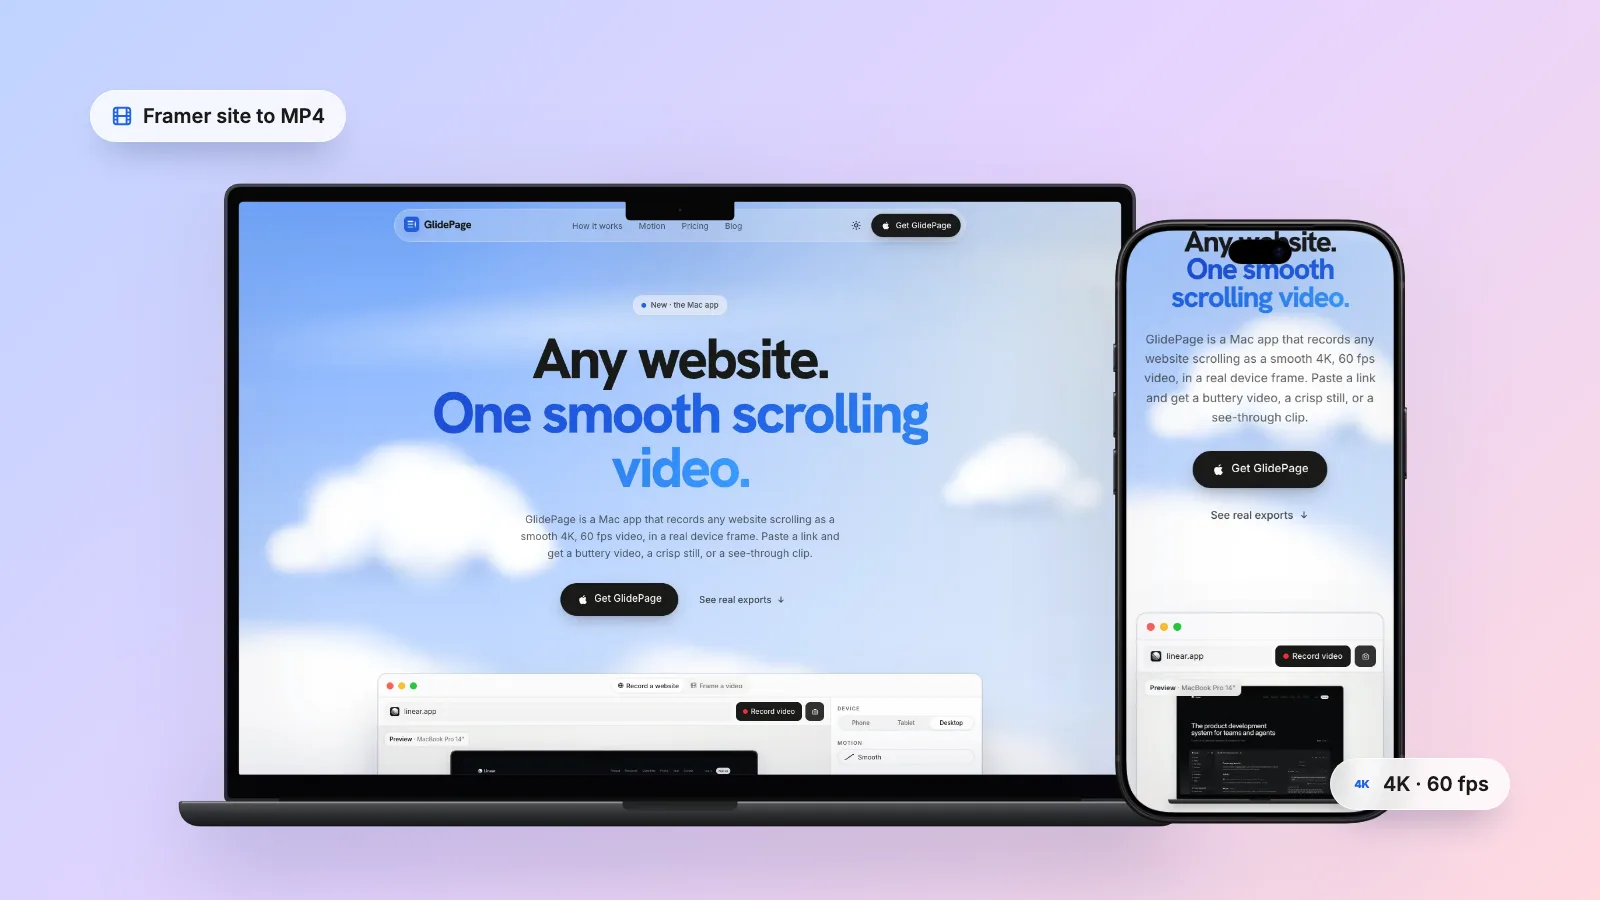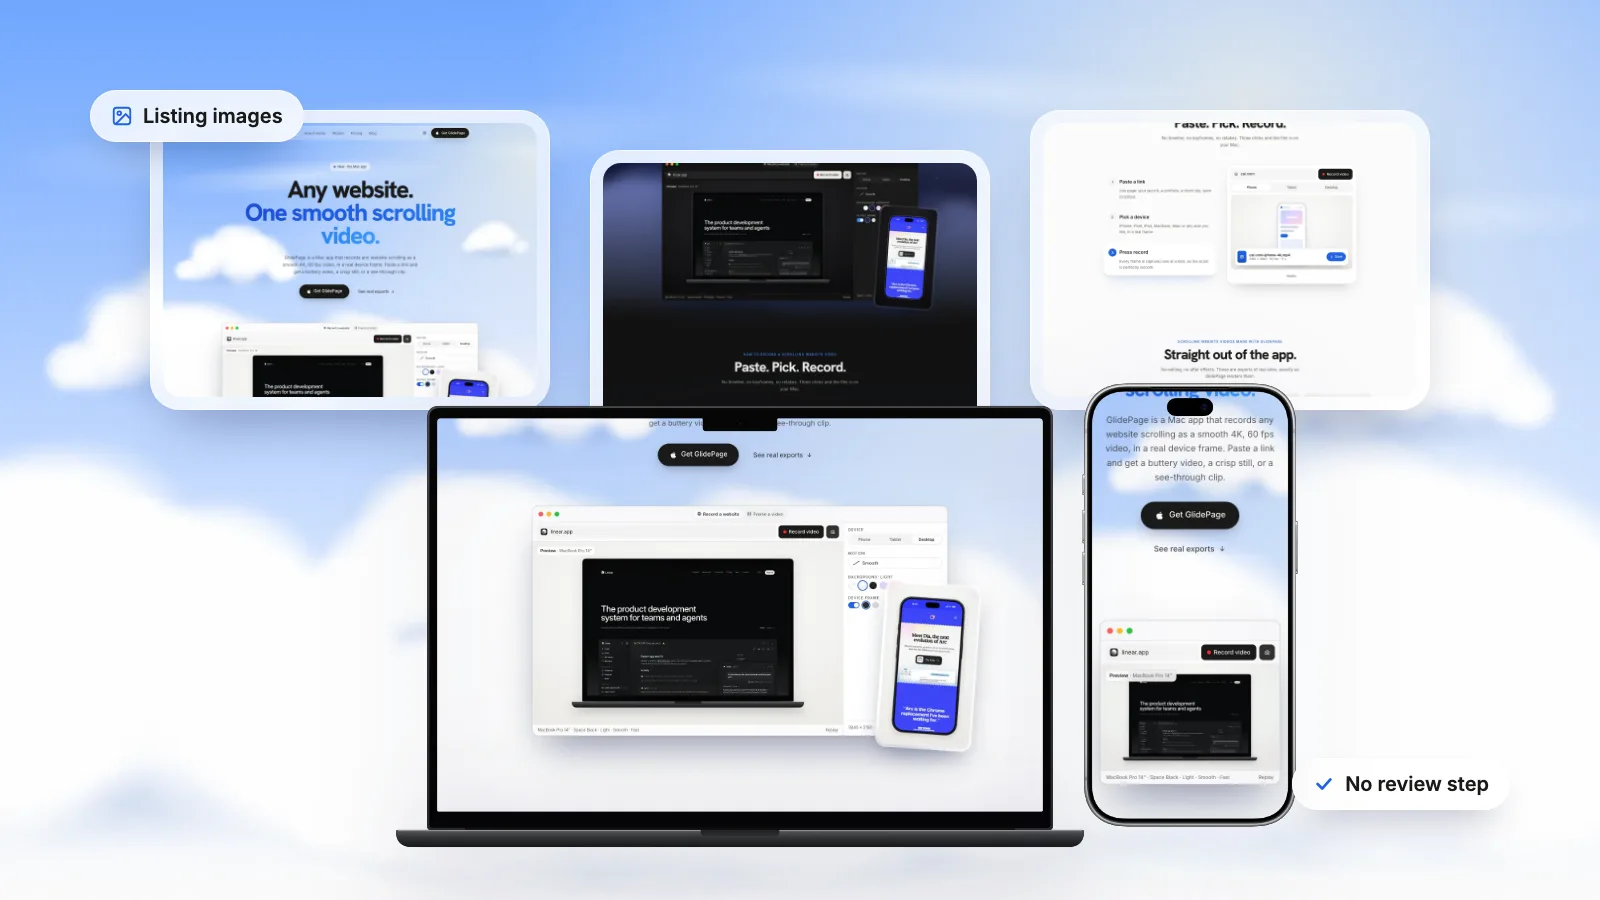
Since Framer 3.0 (16 June 2026), the Framer Marketplace is part of Framer Community and there is no review: a template goes live as soon as you submit it. The listing needs a name, byline, description, images, categories, styles, features, a Preview URL (a published page on one of your free Framer domains, from the same project), a Remix URL and, for paid templates, a link to your own external checkout. Framer publishes no pixel sizes for listing images; its best-practice checklist only asks that preview images accurately represent the template. Capture them from the live preview with your browser and the Mac's screenshot tools, or with GlidePage, a Mac app for Apple Silicon that saves 4K PNG stills of any page, framed or flat, in light and dark.
On this page
- What changed in 2026: no review, live on submit
- Every field the listing form asks for
- The Preview URL and the Remix URL
- Paid templates: the checkout rules
- Framer's best-practice checklist: the parts buyers see
- Listing images: what Framer specifies (almost nothing)
- Making the stills by hand
- Making the stills with GlidePage
- Listing on the Webflow Marketplace too
- Pre-publish checklist
If you last listed a Framer template before June 2026, most of what you remember has changed. There is no review queue and no approval email, yet many guides that rank for this search still describe the old process.
This guide covers the listing after Framer 3.0: every field, the preview and checkout rules, the parts of Framer's best-practice checklist that buyers see, and listing images that stay sharp however they are cropped. A last section covers the Webflow Marketplace, which still reviews submissions. For Shopify, ThemeForest or Etsy, see template preview videos and screenshot sizes.
What changed in 2026: no review, live on submit#
On 16 June 2026, with Framer 3.0, the Marketplace became part of Framer Community. Framer's announcement says resources "will no longer go through a review process before they can be published", and its help article on publishing a template is just as clear: there is no review process or waiting period, and a template is published as soon as you submit it.
Three things follow from that:
- Nobody checks your listing before buyers do. Framer calls the new model moderation: any asset can be reported, and the team can act on copied, misleading, broken or low-quality work after it is live.
- Ranking does the sorting. Framer calls ranking a discovery system, not a permanent leaderboard. Since September 2026, Marketplace Analytics shows visitors, views, usage and where you rank.
- You can fix things any time. Name, description, images and pricing can be edited after publishing, so a weak cover image is a quick fix.
The bar has not gone away. It has moved from a reviewer's checklist to the buyer's first impression: your images and your live preview.
Every field the listing form asks for#
To start a listing, open the Marketplace in Framer Community, hover over Create Listing in the top-left menu and choose Template. Framer's help article lists these fields:
| Field | What to put there | Worth knowing |
|---|---|---|
| Name | The template's name | Specific beats clever: it is what people search for |
| Byline | A one-line summary | Who it is for, such as "a portfolio for product designers" |
| Description | What is included and why it is useful | Framer's checklist asks that it clearly explains the template's value and states setup requirements and limitations |
| Images | Screenshots of the template | Framer asks for high-quality screenshots that clearly showcase the template. No sizes or counts are published |
| Categories | Where it appears when people browse | Relevant ones only |
| Styles | Visual style tags | Match what the preview looks like |
| Features | What the template includes | List only what ships in the remix |
| Preview URL | A published page from the same project | Required; see the next section |
| Remix URL | The link that copies the project | Buyers get their own copy |
| Payment settings | Your checkout link, for paid templates | Framer does not process the payment |
Before you click Submit, you can add an optional Community feed post. Framer notes that context about your work can help visibility in the For You and Hype feeds. How to promote Framer templates covers what to put in that post and where else to share the template.
The Preview URL and the Remix URL#
Preview URL
A live preview is required for every template. Framer's rules are short:
- Use a published URL from the project that contains the template you are submitting.
- For templates, the URL should come from one of your free Framer domains. Publishing a site creates a framer.app domain automatically.
- The preview should accurately show the product buyers will receive.
- You can update it later, and visitors always see the latest published version.
So the preview is the template itself, published, which makes it the right source for every listing image: what you capture is what buyers will remix.
Remix URL
A remix link lets someone make an exact copy of the project in their own workspace. Copy it from the project's File menu (Copy Remix Link), from the ••• menu on the project card in the dashboard, or by typing "Remix" in Quick Actions (Command-K). One catch from Framer's help: if the project is set to "Only team members can access", the remix link is disabled. Test the link while signed in to a different account before you publish.
Paid templates: the checkout rules#
Framer does not process payments or handle transactions for Community products. You sell through a payment platform of your choice (Framer's help names Contra, Stripe and Gumroad as examples), paste the product's checkout URL into the listing's payment field, and deliver the template yourself. You keep 100% of each sale.
The checkout page should meet Framer's rules:
- It goes directly to payment, with no extra steps or navigation.
- It clearly shows the product and the price.
- The price matches the price in your listing.
- It is publicly accessible, with no login before purchase.
- It includes a clear refund or cancellation policy.
After the sale, you deliver the remix URL with clear usage instructions. Since the checkout has to show the product clearly, give it your listing cover image.
Framer's best-practice checklist: the parts buyers see#
Framer's template best practices are recommendations, not a gate. Still, they describe what buyers notice, and moderation can act on listings that mislead. The items that touch the listing:
| Area | Framer's checklist item | What it means for the listing |
|---|---|---|
| Community | "Preview images accurately represent the template." | Capture images from the live preview, not from a mock that differs from it |
| Community | "Relevant categories have been selected." | Do not tag your way into unrelated searches |
| Community | "Setup requirements and limitations are clearly communicated." | Put any setup steps in the description |
| Responsive | "Layouts adapt cleanly across mobile, tablet, and desktop breakpoints." | Show the phone layout in at least one image |
| Effects | "Motion is used purposefully to guide attention." | Show the motion that sells, not every effect |
| Support | "Refund terms are clearly communicated." | Matches the checkout rule above |
| Support | "Advertisements and unrelated promotions have been removed." | No banners for your other products in the preview |
Listing images: what Framer specifies (almost nothing)#
Framer publishes no pixel sizes, aspect ratios, image counts or video specs for listing media. The help articles ask for high-quality screenshots that accurately represent the template, and that is all. Resource detail pages gained a new carousel in August 2026, but Framer still gives no image count. Creators report that the listing form now accepts video as well; no Framer page confirms it, so check the form when you edit your listing. Animated thumbnails for Framer templates covers the video side.
Without sizes, the safe approach is to make images that survive any crop:
- Capture big. A 4K still (3840 × 2160 at 16:9) can be cropped to any shape and still look sharp on a Retina screen.
- Keep the subject centred. Leave a margin around the device or the page's key content, so a square or 4:5 crop does not cut off the headline.
- Check the crop preview. Upload one image, see how the form and the listing show it, then export the rest to match.
- Make a consistent set. The same background, device frame and theme across every image, so the listing reads as one product.
A set that covers most templates:
| Image | What it shows | How to capture it |
|---|---|---|
| Cover | The hero of the home page | 16:9, laptop frame on a background, or a flat page capture |
| Key section | The section that sells the template: a work grid, pricing, a CMS list | Same frame and background, scrolled to that section |
| Mobile | The home page on a phone | Phone frame, same background |
| Inner page | A CMS detail page or a second page type | Framed or flat |
| Dark mode | The same hero in dark, if the template has a dark theme | Same position as the cover |
A device frame on a soft background reads as finished; a flat capture shows more of the design. Pick one style for the set.
Making the stills by hand#
The free route works well for a handful of images.
1. Open the live preview
Use the published framer.app URL rather than the editor, so what you capture is exactly what buyers see. Deal with the cookie banner, then scroll the whole page once so images and reveal animations finish loading, and go back to the top.
2. Set the size
For a 4K desktop still, use the device toolbar in Chrome DevTools: a Responsive viewport of 1920 × 1080 with a device pixel ratio of 2, captured with Capture screenshot, saves the viewport as a 3840 × 2160 PNG. For the phone image, choose a phone preset so the template switches to its mobile breakpoint. High-resolution website screenshots walks through the steps.
3. Capture light and dark
If the template's colour styles have light and dark values, the published site can follow the visitor's device appearance. Capture the cover in both, at the same scroll position. Record a website in dark mode shows how to switch the preference without changing your whole Mac.
4. Frame and finish
For framed images, place each still into a device frame in Keynote or a design tool template, on the same background every time.
It is free and fine for one template. The fiddly parts are keeping every frame identical across the set and redoing it all after each update.
Making the stills with GlidePage#
GlidePage is a Mac app that turns any web page into a smooth scrolling video or a sharp still. For listing images, its photo mode does the whole set from your preview URL:
- Paste the preview URL, your framer.app link.
- Pick a device. A MacBook, iMac or Safari window for the desktop layout, or a current iPhone, Pixel or Galaxy for the phone layout. Phone devices load the page with a real phone user agent and viewport, so the template shows its own mobile breakpoint rather than a shrunk desktop.
- Framed or flat. Keep the device frame on a background (18 solid colours, 18 gradients or your own), or turn the frame off and set the background to none for a flat page capture. A custom size of 1920 × 1080 with no frame gives a flat 3840 × 2160 image.
- Light or dark. The page theme setting shows the template in light or dark mode, for templates that follow the device's appearance.
- Take the photo. Press the camera, scroll to the spot with the scrollbar, and press again. Every photo is a 4K PNG, transparent if the frame is on and the background is off. On a background, the aspect ratio applies too: a 4:5 photo of a MacBook Pro 14 frame comes out 2160 × 2700.
Common cookie banners are hidden by default; if a banner is part of what the template ships, turn that off so the images stay accurate. Take control lets you click through to a particular CMS page first, and Hide element keeps a test widget out of every shot. Photo mode is a viewport-sized still at the position you choose: it does not stitch a whole page into one tall image.
Nothing is uploaded. GlidePage needs an Apple Silicon Mac with macOS 12 or later, and has a free 7-day trial with no card needed (trial exports carry a small "captured with GlidePage.app" watermark, and flat or transparent captures need a license). The same session can record clips for your feed post: see how to export a Framer website as video and how to make a scrolling video of a website.
Listing on the Webflow Marketplace too#
If you also build in Webflow, or port a template across, the Webflow Marketplace is stricter about images and still reviews submissions, typically within 3 to 5 days. You submit from the free webflow.io staging URL, with no Site plan needed. Webflow's submission guidelines set these thumbnail rules:
- Main thumbnail: the homepage or a key page, showing the overall design and style. Keep it simple: no complex multi-page views and no angled or tiled mockups.
- Second thumbnail: shown on hover. A different section or page, with the same colours, style and layout tone as the main one.
- Avoid: badges such as "New" or corner labels, external logos or tool icons, the template or category name on the image, calls to action or sales text, and too much text in general.
- Open Graph images: every page needs Open Graph metadata with a JPEG or PNG image of at least 1200 × 630 pixels at 1.91:1. Webflow names WebP as unsupported here.
Webflow gives no pixel size for the thumbnails themselves. Its rules point to one kind of image: a flat, straight-on capture of the page. In GlidePage that means no frame, no background and a desktop custom size, with a photo at the top of the homepage for the main thumbnail and one further down, or on another page, for the hover thumbnail. Take both in the same theme so they match. For an Open Graph image, crop a 3840 × 2160 still to 3840 × 2016 and scale it to 1200 × 630.
Pre-publish checklist#
- Preview URL published from the same project, on your free framer.app domain, showing the current version.
- Remix link tested from another account; the project is not limited to team members.
- Name, byline and description say who it is for, what is included and any setup steps.
- Listing images captured from the live preview, at 4K, subject centred, as one consistent set.
- At least one image of the phone layout, and a dark version if the template has one.
- No ads, placeholder text or leftover test content in the preview.
- Paid: checkout goes straight to payment, the price matches, no login, refund policy visible.
- Optional feed post written, with an image or a short clip.
- After publishing: check how each image is cropped on the listing and in the feed, and fix any that cut off.
Nobody signs off on a Framer listing any more. Start from the live preview, capture it big, and check the crops.
Sources
- Framer Help: How to publish a template (checked October 2026)
- Framer Help: Adding a live preview for your products (checked October 2026)
- Framer Help: Accept payments in the Community (checked October 2026)
- Framer Help: Template best practices (checked October 2026)
- Framer Blog: Why Marketplace is becoming part of the new Framer Community (checked October 2026)
- Webflow Marketplace: Template submission guidelines (checked October 2026)




Make your site move.
Any page, one smooth 4K video. Framed, on any background, or transparent. Free for 7 days, no card needed.
Questions, answered
Does Framer still review Marketplace templates?
No. Since Framer 3.0 on 16 June 2026, templates are published as soon as you submit them, with no review or waiting period. Framer now relies on moderation instead: anything can be reported, and the team can act on misleading, copied or broken listings after they go live.
What size should a Framer template thumbnail be?
Framer does not publish a size, aspect ratio or image count for listing images. It asks for high-quality screenshots that accurately represent the template. Export 4K stills with the subject centred, so any crop stays sharp, and check how the listing form crops the first one before making the rest.
Can the Framer preview URL be on my own domain?
Framer's help says the live preview should be a published URL from the project that contains the template, taken from one of your free Framer domains. Publishing creates a framer.app address automatically, so use that. You can update the preview later and visitors always see the latest published version.
How do paid Framer templates take payment?
Through your own checkout. Framer does not process payments, so you create the product on a payment platform and paste its checkout URL into the listing. The page must go straight to payment, show the product and a price that matches the listing, need no login and include a refund policy. You then deliver the remix link yourself.
Can I sell my Framer template on other marketplaces?
Yes. Framer's help article on publishing templates says you can also sell a template through other marketplaces and platforms. You keep all the revenue from paid template sales made through your listing.
What does Webflow require for a template thumbnail?
The main thumbnail should show the homepage or a key page, with no angled or tiled mockups, badges, logos, template name or sales text. A second thumbnail, shown on hover, should show a different section or page in the same style. Webflow gives no pixel size for thumbnails; Open Graph images must be at least 1200 × 630.