To show a website redesign before and after, capture the old live site before the new one launches, and record the new site on staging or localhost with the same device, viewport, scroll speed and canvas size, so the pair matches. Place the two side by side in Keynote, iMovie's split screen or another editor, and add the goals, what changed and any results the client agrees to share. If the old site is already gone, look for archived copies in the Wayback Machine, which can be missing images or scripts. GlidePage, a Mac app for Apple Silicon, records both versions as matching 4K videos or stills from a link, including staging and localhost; it does not combine them, so you place the pair together yourself.
On this page
A redesign case study lives or dies on one comparison: what the site looked like before, and what it looks like now. A good pair makes the argument for you. The navigation got simpler, the hero says something, the phone layout finally works.
The trouble is timing. By the time you write the case study, the domain points to the new build, the old theme has been deleted, and the only "before" left is a blurry screenshot from the kickoff deck. This guide covers how to capture the old site properly while you still can, how to record the new one so the pair matches, what to do if the old site is already gone, and what to put next to the visuals.
Capture the old site at kickoff#
The best moment to record the "before" is the day the project starts. Old sites change during a redesign: clients patch copy, add a banner, or remove pages they know are going away. Capture it at kickoff, and again just before launch if it has changed.
Treat it as part of the project, not a portfolio chore:
- A full scroll of the home page on desktop.
- The same page on a phone. Old sites often have their weakest design here, which makes it the most telling comparison.
- Two or three pages the redesign changes most, such as pricing, a product page or the contact page.
- Stills of the sections you will compare: the hero, the navigation, a pricing table. Note which section each one shows.
- A Save Page Now copy of each key page in the Wayback Machine, as a dated public reference.
- A PageSpeed Insights report for the key pages, saved as a PDF or screenshot, if speed is part of the brief.
- Baseline numbers from the client's analytics for whatever the redesign is meant to improve, with the dates they cover.
Save Page Now
On the Wayback Machine's site, paste the page's address into the Save Page Now box and press the button. The Internet Archive's help centre says it "saves the page you enter including the images and CSS", but only that one page, not the pages it links to. So save each key page on its own. It is a useful backup, not a replacement for your own recording: some sites block crawling, and some pages do not survive archiving intact.
PageSpeed Insights
Speed is often one of the goals of a redesign, and it is impossible to measure the old site after it has gone. PageSpeed Insights reports lab data from Lighthouse and, where a page has enough real visitors, field data from the previous 28 days, for both mobile and desktop. Save the report for each key page, so you can run the same test on the new site later.
Record it by hand
On a Mac, press Shift-Command-5, choose Record Selected Portion, and record only the page area while you scroll. Write down the window size and the zoom level, because you will need exactly the same ones for the new site. Setting a browser window to an exact size shows how to make that repeatable.
Make the after match the before#
A before-and-after pair only works if the recording settings are identical, so that every difference a viewer sees is a design decision. Change one thing, the site, and keep the rest:
| Keep identical | Why it matters |
|---|---|
| Device and viewport size | A wider window changes the layout, which makes the comparison meaningless |
| The equivalent page | Compare old pricing with new pricing, not the old home page with the new one |
| Scroll speed and motion | A faster scroll makes one version look busier than it is |
| Canvas shape and background | Two clips of different shapes never line up |
| Page theme and zoom | Light next to dark, or 100% next to 90%, reads as a trick |
| How banners are handled | Hide the cookie banner on both, or show it on both |
| Length | Trim both clips to the same duration so they start and end together |
Be fair to the old site. A cramped crop or a mid-load screenshot of the "before" makes the comparison look rigged, and reviewers notice. The honest version is more persuasive, because the improvement is real.
Record the new site before launch
You do not have to wait for the launch. Record the new site on its staging address, or from your own dev server, as soon as the content is final. Recording a localhost website covers getting an unreleased site camera-ready. If staging sits behind a login form, sign in first; recording a website behind a login walks through the options.
Doing it with GlidePage#
GlidePage is a Mac app that turns a link into a smooth scrolling video or a sharp still. It is useful here because every setting is a named choice (a device, a curve, a speed, a background), so the same set is easy to repeat, and because it can reach the new site before it is public:
- Paste the old site's link and pick a device: a MacBook frame for desktop, then a current iPhone for mobile. Phone layouts load with a real phone user agent and viewport.
- Set the shared settings. Background, motion curve, speed, canvas aspect ratio and page theme. Write them down.
- Clear the page. Common cookie banners are hidden by default. Use Take control to close a popup, get past a region prompt or sign in, and Hide element to keep a popup that returns on every load out of every recording of that site.
- Press Record, and take stills in photo mode: press the camera, scroll to the section, press again for a 4K PNG.
- Paste the new site's link, whether it is a staging address, a LAN address or localhost:3000, keep every other setting, and record again. Take the same stills at the same sections.
Everything runs on your Mac, so an unreleased site is never uploaded, and finished jobs stay on the Mac for 24 hours if you need to download a file again.
To be clear about what it does not do: GlidePage records one page per export and does not put the before and after side by side; you combine them in Keynote or an editor. Photo mode is a viewport-sized still at a chosen position, not a stitched full-page screenshot. And a staging site behind HTTP basic auth (a username and password in the browser's own prompt) cannot be recorded; for that one, screen record your own signed-in browser.
If the old site is already gone#
It happens on most projects: the case study gets written months after launch. Here is where to look, roughly in order of quality.
The Wayback Machine
Enter the old address and press Browse History. The calendar shows each capture as a dot; the help centre explains that blue dots are captures where the server answered normally, and suggests choosing those.
Set your expectations. Archived copies are often incomplete. The Internet Archive's own help says broken images usually mean the images were never archived, that "not every date for every site archived is 100% complete", and that JavaScript is hard to archive, so sliders, menus and anything loaded by scripts may be missing. Pages that required a password were not archived at all, and some sites are excluded.
To capture an archived page, screen record it in your browser as above. If the archive shows its own bar above the page, record only the area below it. An archived copy is also just a web page, so it is worth trying in GlidePage too: paste the archive link and check the preview. How well it records depends entirely on how complete the capture is.
Other places to look
| Source | What you get | Watch out for |
|---|---|---|
| The Wayback Machine | The page as a crawler saw it, on a given date | Missing images, broken scripts |
| The old code or theme, in version control or a hosting backup | The real site, if you can run it locally | Old dependencies; record it from localhost like any dev build |
| Your kickoff deck, audit or proposal | Screenshots taken at the start | Usually desktop only, often low resolution |
| The client's own files | Brand decks, old marketing material | May not match the live site exactly |
Whatever you use, label it. "Archived copy, March 2025" next to the image tells viewers what they are looking at, and keeps the comparison honest.
Put the pair side by side#
Two stills in Keynote
Drag both PNGs onto a slide, line them up with the Align menu on the Arrange tab of the Format sidebar, add "Before" and "After" labels, and choose File → Export To → Images. It is the simplest format for a case study page or a PDF.
A split-screen video in iMovie
Put the "before" clip in the timeline and drag the "after" clip above it. Click Video Overlay Settings, choose Split Screen from the pop-up menu, and set the position, for example Right. iMovie crops both clips to fill their halves, so record them on a square canvas with room around the device, and check the viewer before exporting.
One after the other
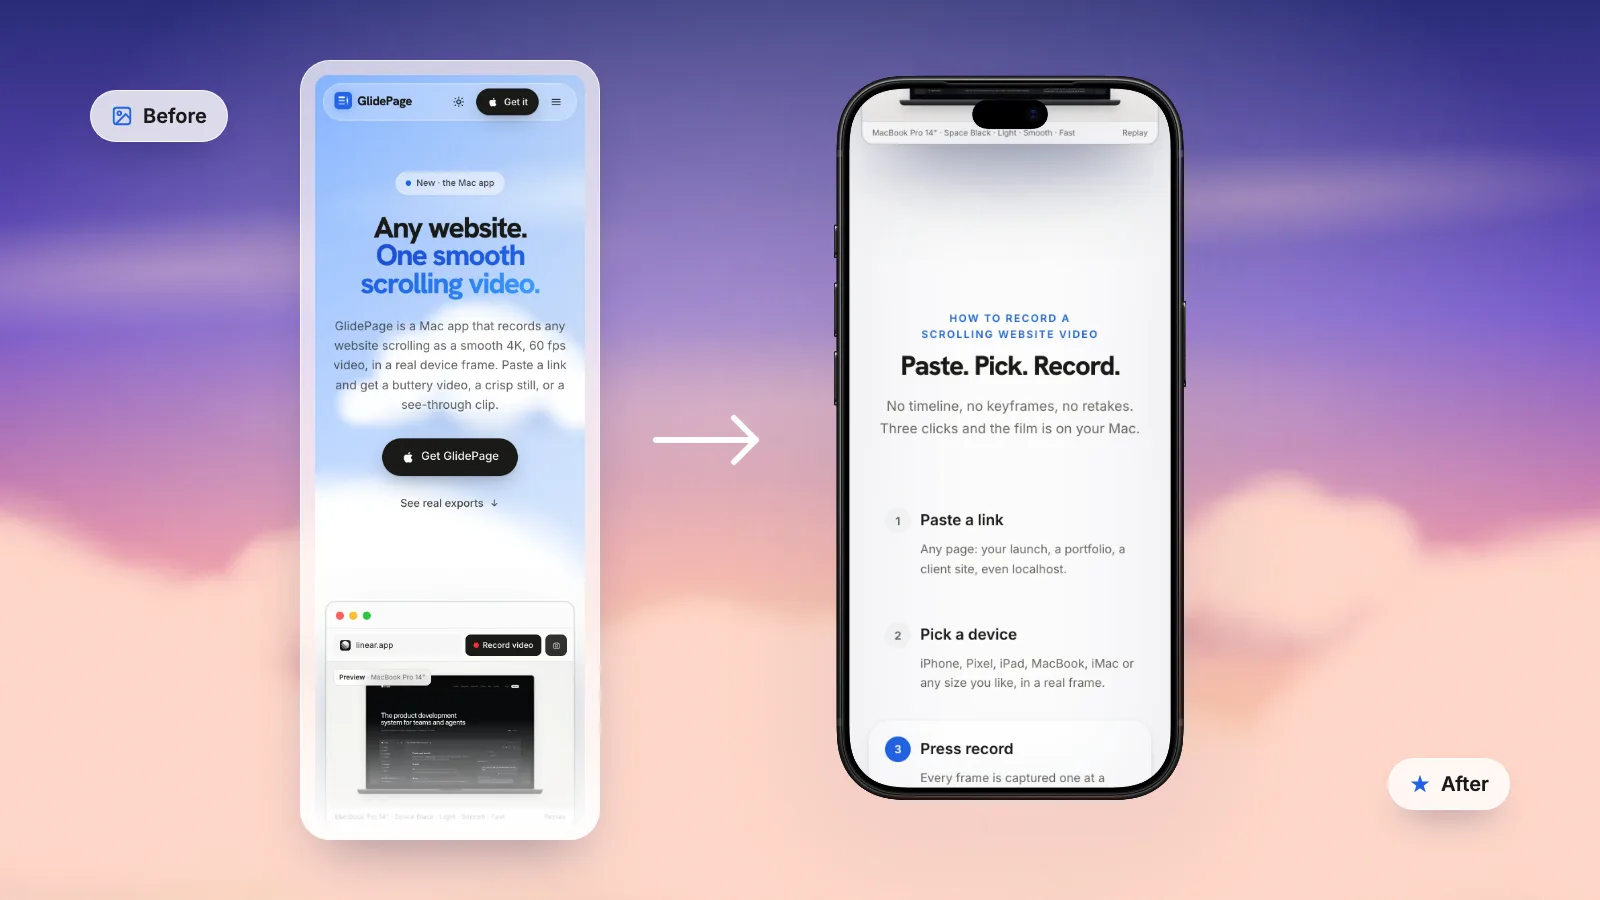
For vertical feeds and slides, side by side makes each version too small. Show the before, then the after, on the same background and at the same speed. A clean cut between them is often stronger than a fancy transition. In a deck, embed the clips so they play without Wi-Fi; showing a website in a presentation covers Keynote, PowerPoint and Google Slides.
A comparison slider
On your own portfolio site, two stills stacked with a draggable divider let visitors compare at their own pace. It only works when both images are the same size and show the same section, which is exactly what matching settings give you.
For a redesign that changed the mobile experience most, show the phone pair on its own. Showing responsive design in your portfolio covers arranging phone, tablet and desktop together.
What to put next to the visuals#
The pictures show what changed. The words around them show why, and that is what a hiring manager or future client is really reading.
| Part of the case study | What to include |
|---|---|
| The starting point | Who the site serves, and what was not working, from the brief, analytics or user research |
| The goals | Two or three specific goals agreed at kickoff |
| What changed, and why | The main decisions, each tied to a before-and-after pair |
| Results | Metrics with the time period, the source and the comparison window, only if the client agrees |
| Your role | What you did, and who else worked on it |
| The client's words | A short quote, with their permission |
Be careful with results. A redesign rarely launches alone: a new ad campaign, a price change or a busy season can move the same numbers. Say what changed over which period, and avoid claiming the whole difference for the design.
Ask the client first
Check your contract or NDA before you publish anything, then ask the client in writing whether you can show the old site, the new site and any numbers. Most say yes to the new site. Some are less happy to see their old site presented as the "bad" version, so frame the comparison as what changed, not what was wrong. If they decline the numbers, describe the outcome in words; if they decline the whole project, keep it for private conversations with prospective clients.
Before-and-after checklist#
- Record the old site at kickoff: desktop and phone, the key pages, stills of the sections you will compare.
- Save each key page with Save Page Now, and keep a PageSpeed Insights report if speed matters.
- Write down the device, viewport, speed, background and aspect ratio.
- Record the new site on staging or localhost with exactly the same settings.
- Trim both to the same length and label each one.
- Combine them in Keynote or an editor, with the goals, decisions and agreed results alongside.
- Get the client's permission before publishing.
The same handoff habit from web design portfolio videos applies here, just earlier: record the old site on day one, record the new one before launch, and the case study writes itself. For the recording methods in depth, see how to make a scrolling video of a website.
Sources
- Internet Archive Help Center: Using the Wayback Machine (checked October 2026)
- Internet Archive Help Center: Save pages in the Wayback Machine (checked October 2026)
- Internet Archive Help Center: Wayback Machine general information (checked October 2026)
- Google for Developers: About PageSpeed Insights (checked October 2026)
- iMovie User Guide for Mac: Create a split-screen effect (checked October 2026)
- Keynote User Guide for Mac: Export to PowerPoint or another file format (checked October 2026)




Make your site move.
Any page, one smooth 4K video. Framed, on any background, or transparent. Free for 7 days, no card needed.
Questions, answered
How do I capture my old website before a redesign?
Record it at kickoff: a scroll of the home page and the key pages on desktop and on a phone, plus stills of the sections you will compare. Save each key page with the Wayback Machine's Save Page Now as a backup, and save a PageSpeed Insights report if speed is part of the brief.
What if the old website is already gone?
Look it up in the Wayback Machine and choose a capture from before the launch. Archived copies are often missing images or scripts, so check them carefully. Old code in version control, hosting backups and screenshots from your kickoff deck are other options. Label whatever you use as an archived copy.
How do I make before and after screenshots match?
Use the same device, viewport size, page zoom, theme, background and canvas shape for both, and compare equivalent pages. For videos, keep the scroll speed and motion identical and trim both clips to the same length.
What should a website redesign case study include?
The starting point, two or three goals, the main decisions with a before-and-after pair for each, results with their time period and source, your role, and ideally a short client quote. The visuals show what changed; the text explains why.
Do I need the client's permission to show a before and after?
Check your contract or NDA, and ask the client in writing before publishing the old site, the new site or any numbers. Frame the comparison as what changed rather than what was wrong, which makes a yes more likely.
Can GlidePage make a side-by-side before and after video?
No. GlidePage records one page per export, so you record the old and new sites separately with the same settings and combine them in Keynote, iMovie or another editor. Matching settings make the two line up cleanly.